Plastic parts do not often get the credit they deserve for the role played in our world. There’s hardly a place you’ll enter without finding them, ranging from your computer keyboard to the lid of your coffee cup. However, every plastic product began as a prototype. This is why we are here to look at the methods available for making plastic prototypes. Let’s get right to it!
The Importance of a Plastic Prototype
Plastic prototyping is an invaluable tool for entrepreneurs and businesses, especially when aligned with key testing phases: Engineering Validation Test (EVT), Design Validation Test (DVT), and Production Validation Test (PVT). These stages are crucial in assessing and perfecting a physical product before it enters full-scale production.
- EVT: A plastic prototype is essential for verifying the engineering aspects of your product. It helps ensure that the design is feasible and functions according to the technical specifications.
- DVT: The focus shifts to validating the design. This involves testing the prototype under various conditions to ensure it meets the desired aesthetics, durability, and user experience.
- PVT: It is used to validate the production process, confirming that the product can be manufactured at scale without compromising quality.
Additionally, prototypes offer the opportunity to present your ideas to potential investors and stakeholders, allowing them to physically interact with and understand your product. They are equally important in market testing. Distributing plastic prototype parts to prospective customers allows you to measure their interest and collect valuable feedback before the product’s official release.
This process empowers designers and prototyping companies to make necessary adjustments, ensuring that both the manufacturer and the end-user receive a well-crafted and market-ready product, facilitating rapid testing and iteration.
Things to Put in Place Before You Develop a Plastic Prototype
The first thing to reason before plastic prototype manufacturing is your CAD (Computer-Aided Design) model. The model is a digital representation of your intended product showing you and the manufacturer how the product should look.

A CAD model also shows how the plastic parts fit together and the product’s functioning. Preparing it will help you create a physical prototype model, either visual or functional.
- Visual Rapid Prototyping: A visual prototype, showcasing the product’s final design, doesn’t need full functionality. 3D printing is an ideal, cost-effective method for rapid and affordable prototype development.
- Mid-Stage Functional Prototyping: Develop prototypes that closely mimic the final product’s functions. It’s pivotal for more detailed performance testing and refining user interaction.
- High-Resolution Prototyping: Creates highly detailed and refined prototypes, almost identical to the final product. Used for final evaluations, marketing, and stakeholder presentations, showcasing the product’s quality and finish.
Regardless of the type of plastic prototype you wish to make, there are several methods available. However, four of those methods are more widely used. They include:
- Vacuum casting
- 3D printing
- CNC Machining
- Injection Molding
How to Get A Plastic Prototype Made?
A variety of distinct manufacturing methods are available, each offering unique advantages and different prototyping speeds for creating prototype plastic components.
Vacuum Casting
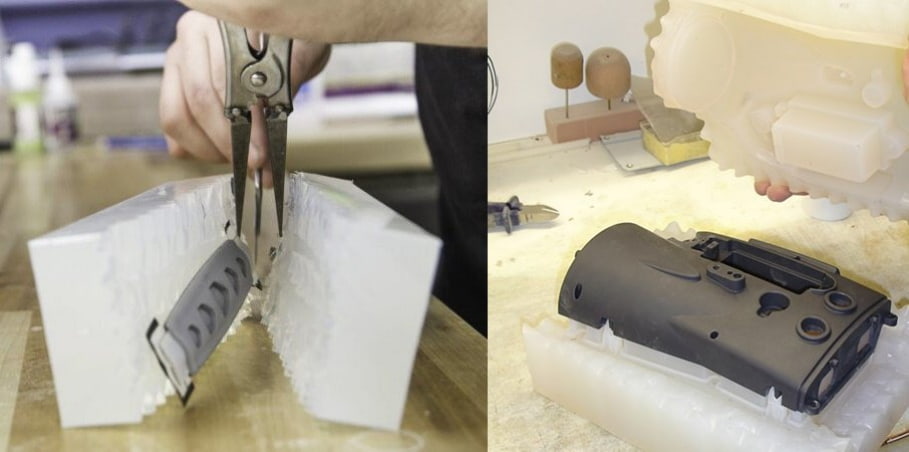
With vacuum casting, fabricators can duplicate several plastic parts. It involves the use of a master model to create parts that are suitable for testing. When using vacuum casting for rapid prototyping, the process involves the injection of the raw material into a silicone mold. However, before creating a silicone mold, there needs to be a master model.
Master models can be created using 3D printing or CNC machining. Upon completion of the master model, there is the development of silicone-based casting molds. The raw materials are injected into the mold cavity using a vacuum bell jar. It often takes about 30 to 40 minutes to harden the resulting cast to give a precise duplication of the prototype.
Vacuum casting is compatible with a wide range of materials, ranging from transparent to opaque. Furthermore, fabricators can reuse the silicone mold to produce up to 25 parts. This process helps you to actualize your design quickly to have product development and mass production in closer proximity.
Benefits of Vacuum Cast Plastic Prototypes
- It makes high-precision plastic parts with fine detail.
- The silicone mold can recreate several identical prototypes within a short period.
- It is an ideal process for fabricating parts with complex shapes.
- A proper mold material will give a prototype with identical quality to the intended final product.
- It is compatible with an extensive array of plastic materials with varied rigidity, flexibility, and texture.
Drawbacks of Vacuum Cast Plastic Prototypes
- Prototypes may have reduced mechanical and thermal resistance, limiting their effectiveness in real-world testing scenarios.
- Vacuum casting can struggle with extremely fine details or tight tolerances, a significant disadvantage in precision-critical industries.
- Cost-effective for small runs, it becomes economically inefficient for larger quantities compared to methods like injection molding.
- Silicone molds in vacuum casting degrade after about 20-25 uses, necessitating frequent replacements and increasing production costs and time.
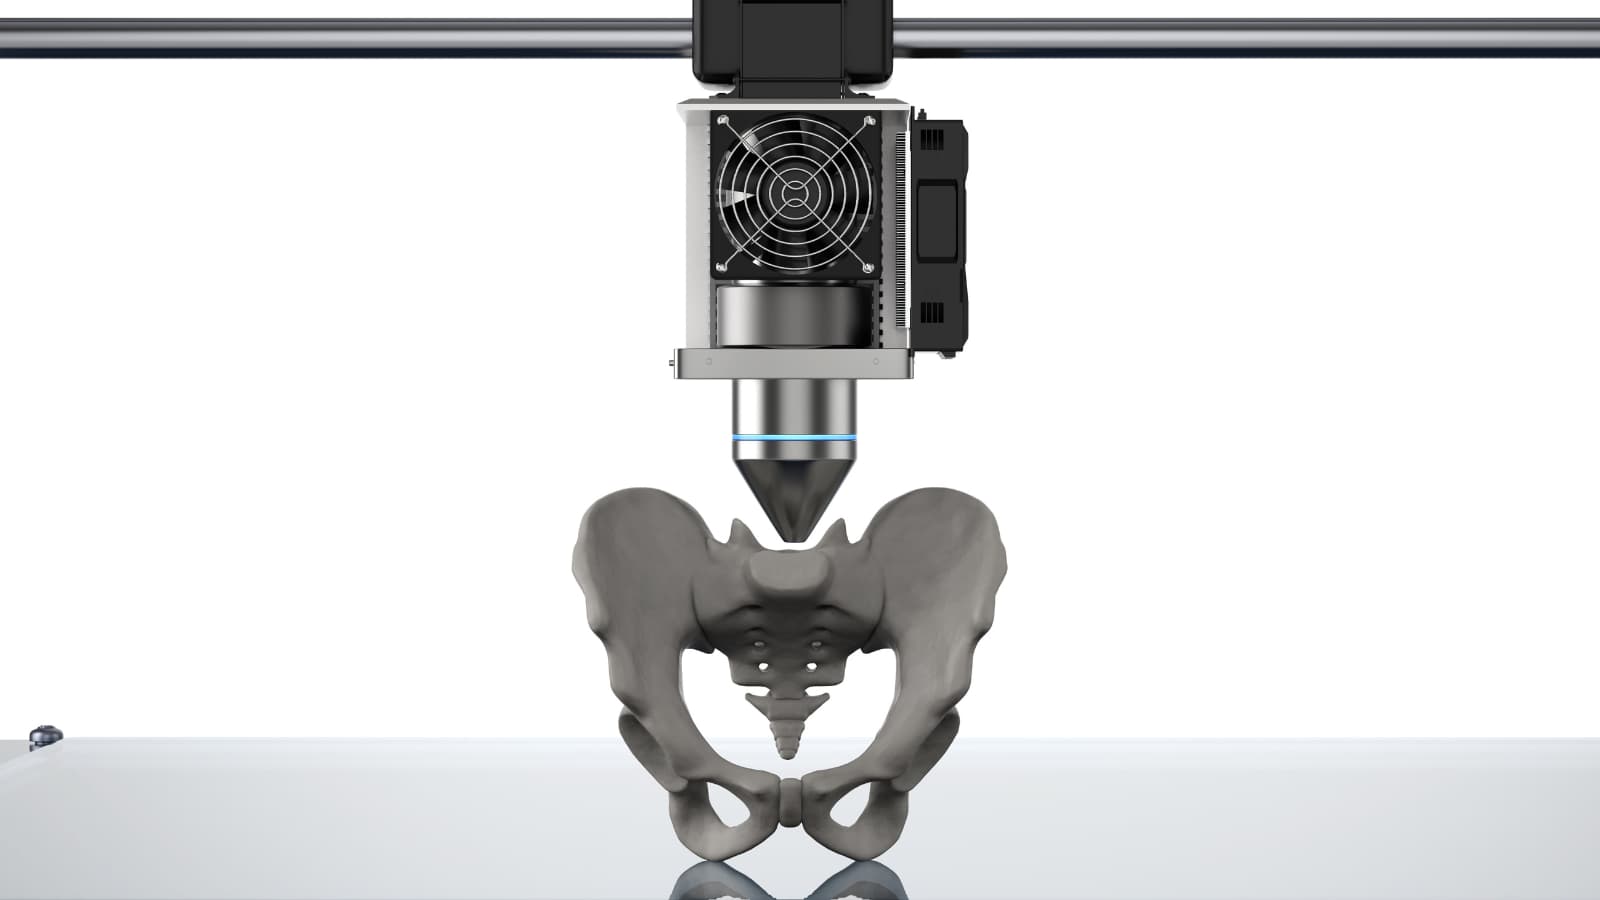
3D Printing
Additive manufacturing or 3D printing is one of the innovative techniques following Industry 4.0 that transform the manufacturing world. When it comes to printing prototyping, three methods stand out.
Fused Deposition Modeling (FDM)
FDM 3D printing process involves using extrusion for a layer-by-layer deposition of plastic materials until the final product is formed.
When industrial-grade FDM printers are used, fabricators can make a plastic prototype with increased strength and resolution, depending on the materials involved. It is also a flexible procedure, compatible with several materials including PLA, ABS, Nylon, PETG, Polycarbonate, etc.
Stereolithography (SLA)
FDM issues filaments, but SLA 3D printing employs plastic resin materials for creating prototypes. It involves using a high-powered laser which helps to solidify the model coming using a vat of resin. Manufacturers use this method for several purposes, including dental, medical, and general consumer components.
Selective Laser Sintering (SLS)
SLS technology also utilizes a high-powered laser. However, unlike SLA, it sinters powdered materials together to form a 3D model. This process features print quality that is superior to FDM’s. Plastic prototyping created via this method is more functional and has higher resolutions. They are generally more durable and flexible than FDM prints.
Benefits of 3D Printing Plastic Prototypes
- 3D printing can help you create plastic prototypes more quickly while reducing the overall cost of the manufacturing process.
- It allows direct uploading of CAD files into 3D printer software and effective reading by the machine, enabling smoother workflow.
- It enables flexible material choices so that manufacturers can test different materials when making prototype plastic parts.
- Allows you to easily make changes by updating a product’s CAD file before sending it to the printer. Thus, as many iterations as possible can be made to the design within a very short time.
- Fabricators with 3D printers can typically create prototypes from product designs in 24 hours or less.
Drawbacks of 3D Printing Plastic Prototypes
- 3D printed prototypes often lack the durability of traditional parts, making them unsuitable for rigorous functional testing.
- The layer-by-layer process can result in rough surfaces or visible layer lines, requiring additional post-processing for a smooth finish.
- Small inaccuracies can occur, especially in larger prints or designs with complex geometries, affecting the prototype’s precision.
- Printing complex or large parts can be time-consuming, making 3D printing less efficient for quick turnaround needs.
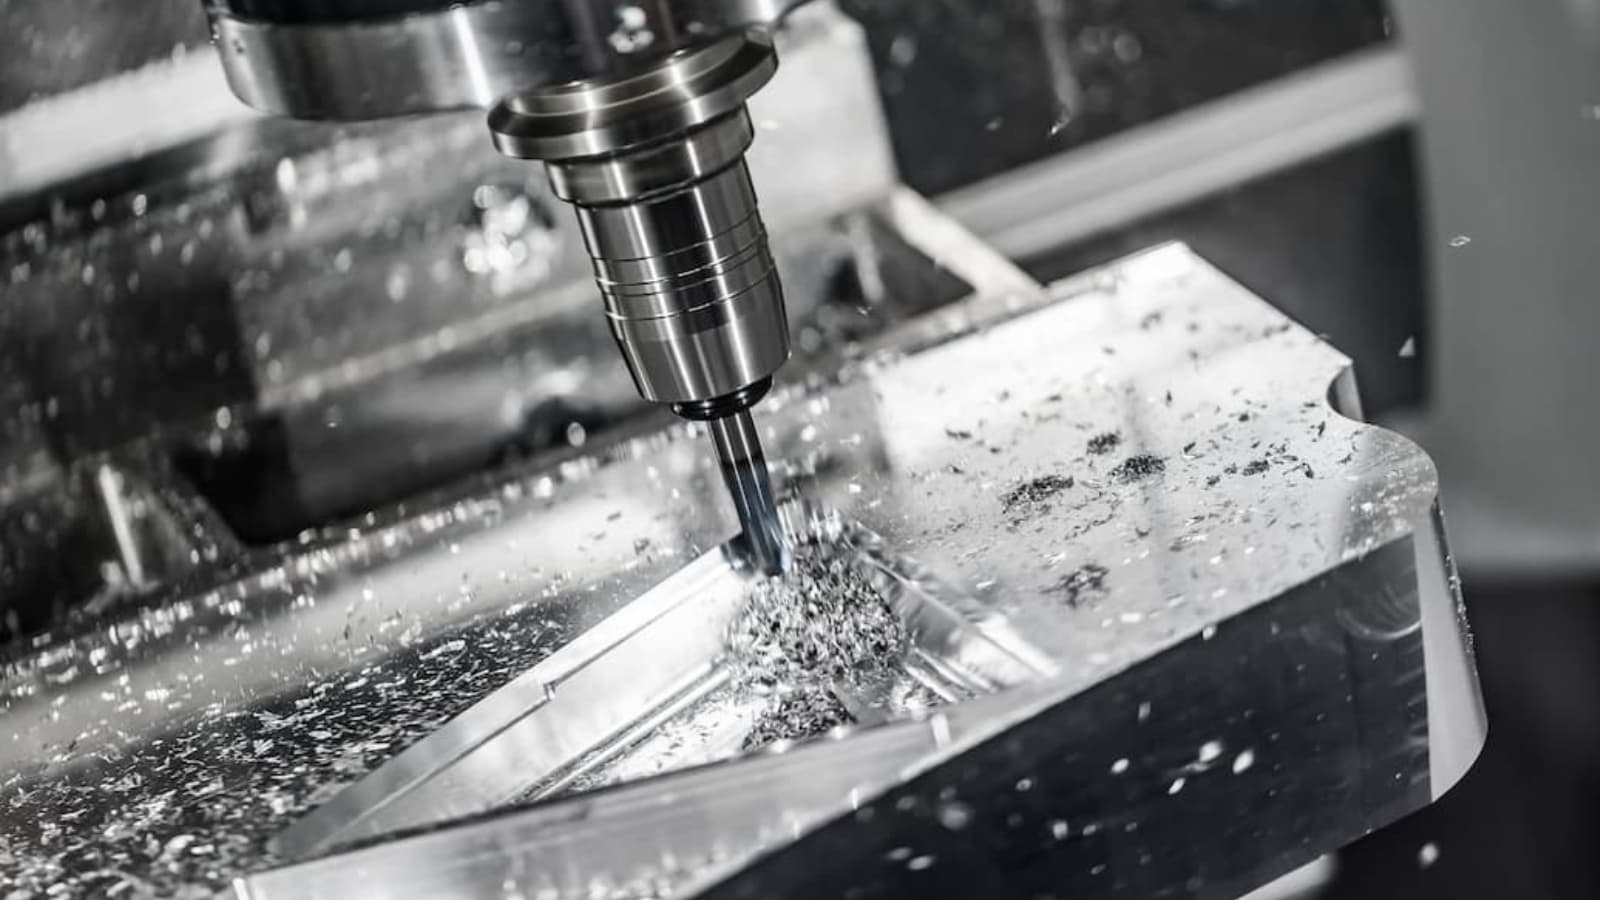
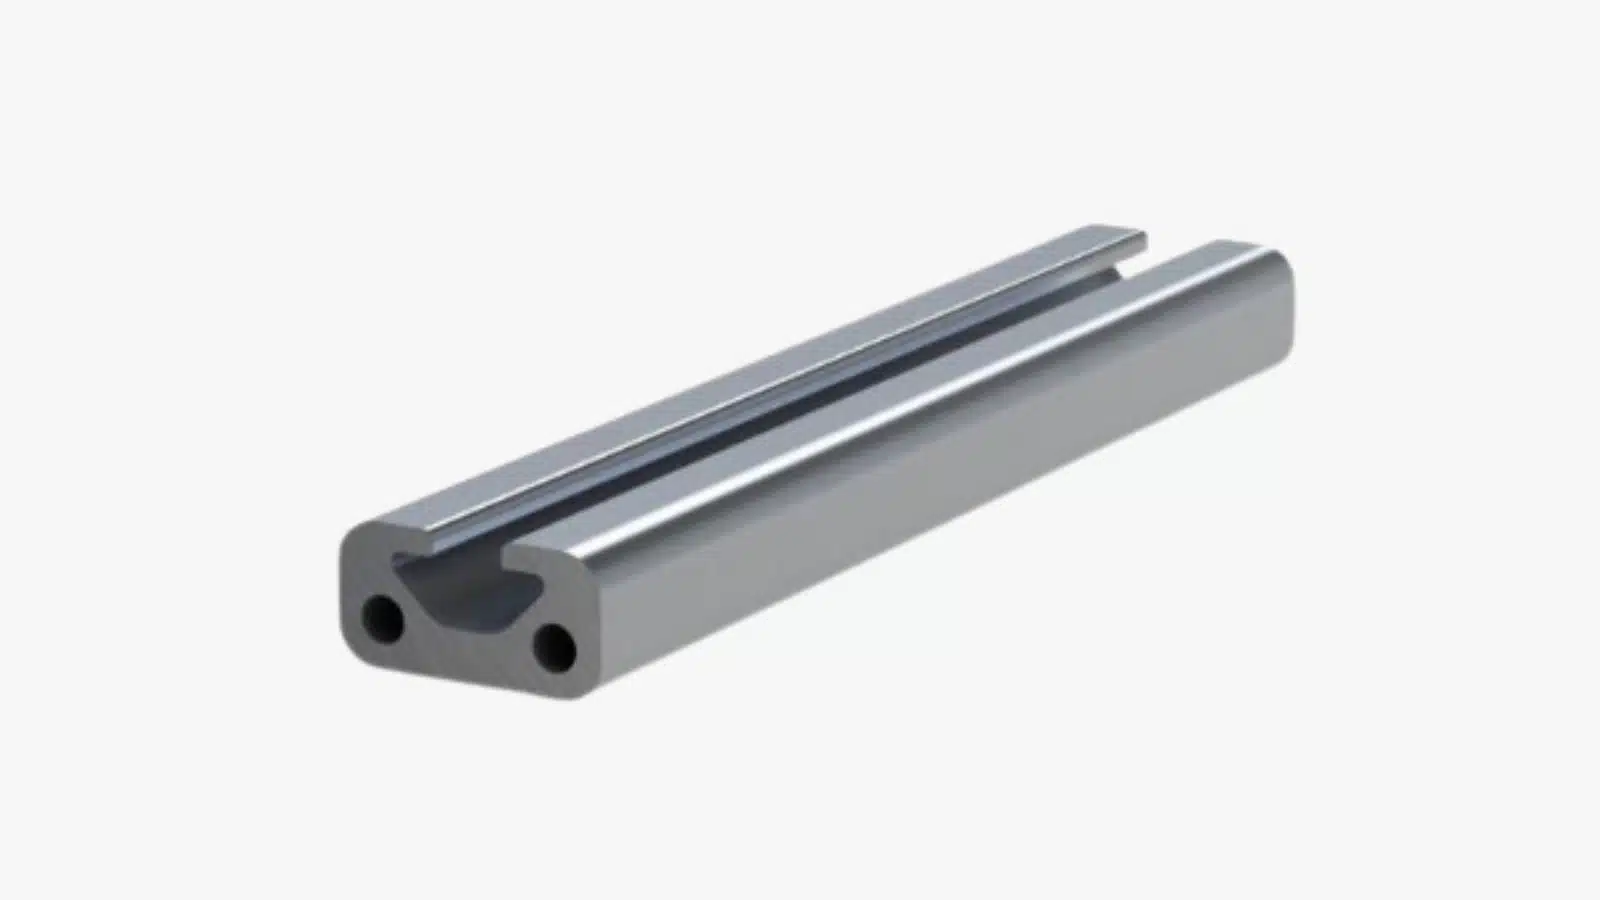
CNC Machining
CNC machining offers another viable and fast-paced method for plastic prototype fabrication. This technology uses a wide range of tools to create 3D models of your design from solid blocks of materials. Creating a plastic CNC prototype involves a subtractive process. That is, materials are being removed from the solid block, unlike 3D printing, which is an additive process. However, this does not mean that fabricators cannot make plastic prototypes with different materials.
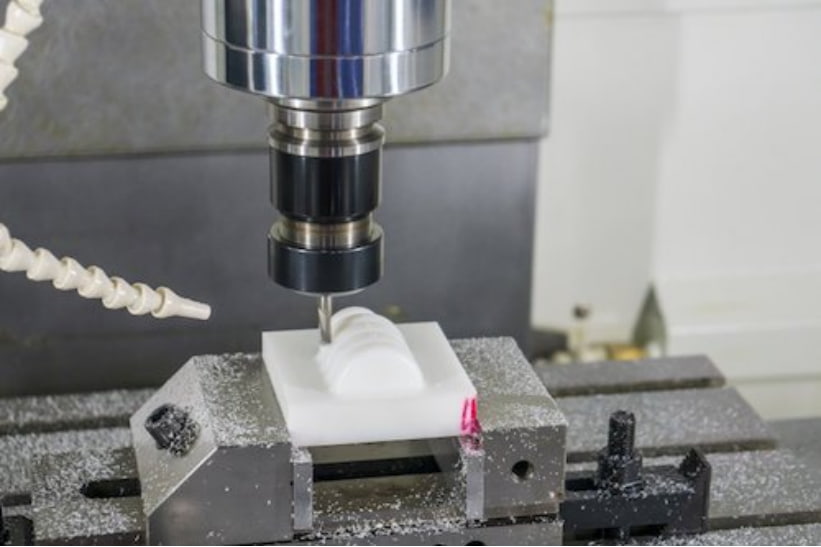
Digital milling machines significantly enhance the effectiveness of the fabrication process. By employing computers to automate and guide the milling machines with 3D file inputs, fabricators streamline the workflow. CNC prototyping, notably, eliminates the need for molds, making it a more cost-effective solution. The process begins simply with a CAD rendering, setting the stage for efficient project commencement.
Benefits of CNC Machined Plastic Prototypes
- It allows you to test the fit, form, and function of plastic parts without producing injection mold tooling.
- CNC machining offers increased potential for tight tolerances, undercuts and threads, and size limitations.
- This technique also enables the creation of several surface finishes on the prototype, ranging from polishing to painting, powder coating, and more.
- CNC machining also provides swift turnaround times, depending on the plastic prototype model complexity.
- It enables the use of an extensive range of materials, making it easier to choose a material for your fabrication.
- The final components tend to have their mechanical properties close to the injected part, with the outcome varying based on appearance and desired functionality.
Drawbacks of CNC Machined Plastic Prototypes
- It is less effective for creating prototypes with intricate designs or complex organic shapes due to its geometric constraints.
- It becomes expensive for complex designs due to the time and precision required in the machining process.
- Producing large quantities of prototypes through CNC machining can be time-consuming compared to methods like injection molding.
Injection Molding
Injection molding is a highly efficient technique for the mass production of plastic prototypes. This process begins with the creation of a metal die. Following this, plastic resin is transferred into a heated barrel, where it undergoes mixing and is then powerfully injected into the metal die, shaping the final prototype.
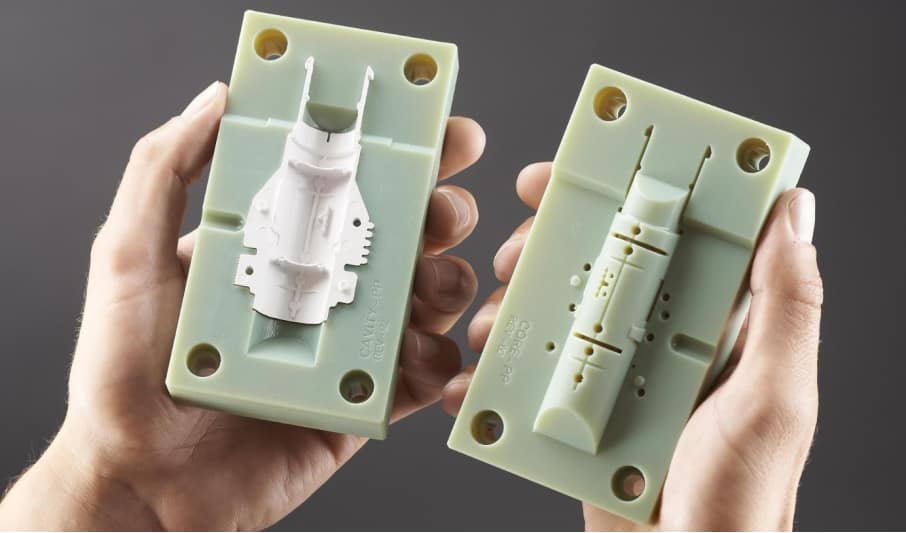
The final step is the rapid cooling of the plastic into a solid component. The result is a prototype with excellent mechanical properties and a high-quality surface finish. It is compatible with popular plastic material options like ABS, Polyethylene, Polycarbonate, Nylon, HIPS, etc. The plastic injection mold prototype lays down the foundation for subsequent molds you need for complete production runs. Many industries take advantage of this method, including automobile, electronics, medical, and packaging industries.
Benefits of Plastic Molded Prototypes
- It enables fast and cost-effective testing of product concepts without compromising quality.
- It helps to get quick insights into the operational capabilities of plastic prototypes by creating real-life, near-perfect replications of final products.
- This method can help fabricate complex parts ranging in shape and weight.
- Plastic injection molding is ideal for industries that need considerable testing and certifications, such as the medical sector.
Drawbacks of Plastic Molded Prototypes
- Setting up injection molding involves costly tooling and molds, making it economically unviable for small production runs or prototypes.
- The time to manufacture molds and set up the process can be lengthy, delaying the prototyping phase.
- Once the mold is made, making design changes is expensive and time-consuming, limiting flexibility in the prototyping phase.
- Achieving consistent quality can be challenging in short production runs, often leading to variances in prototype quality.
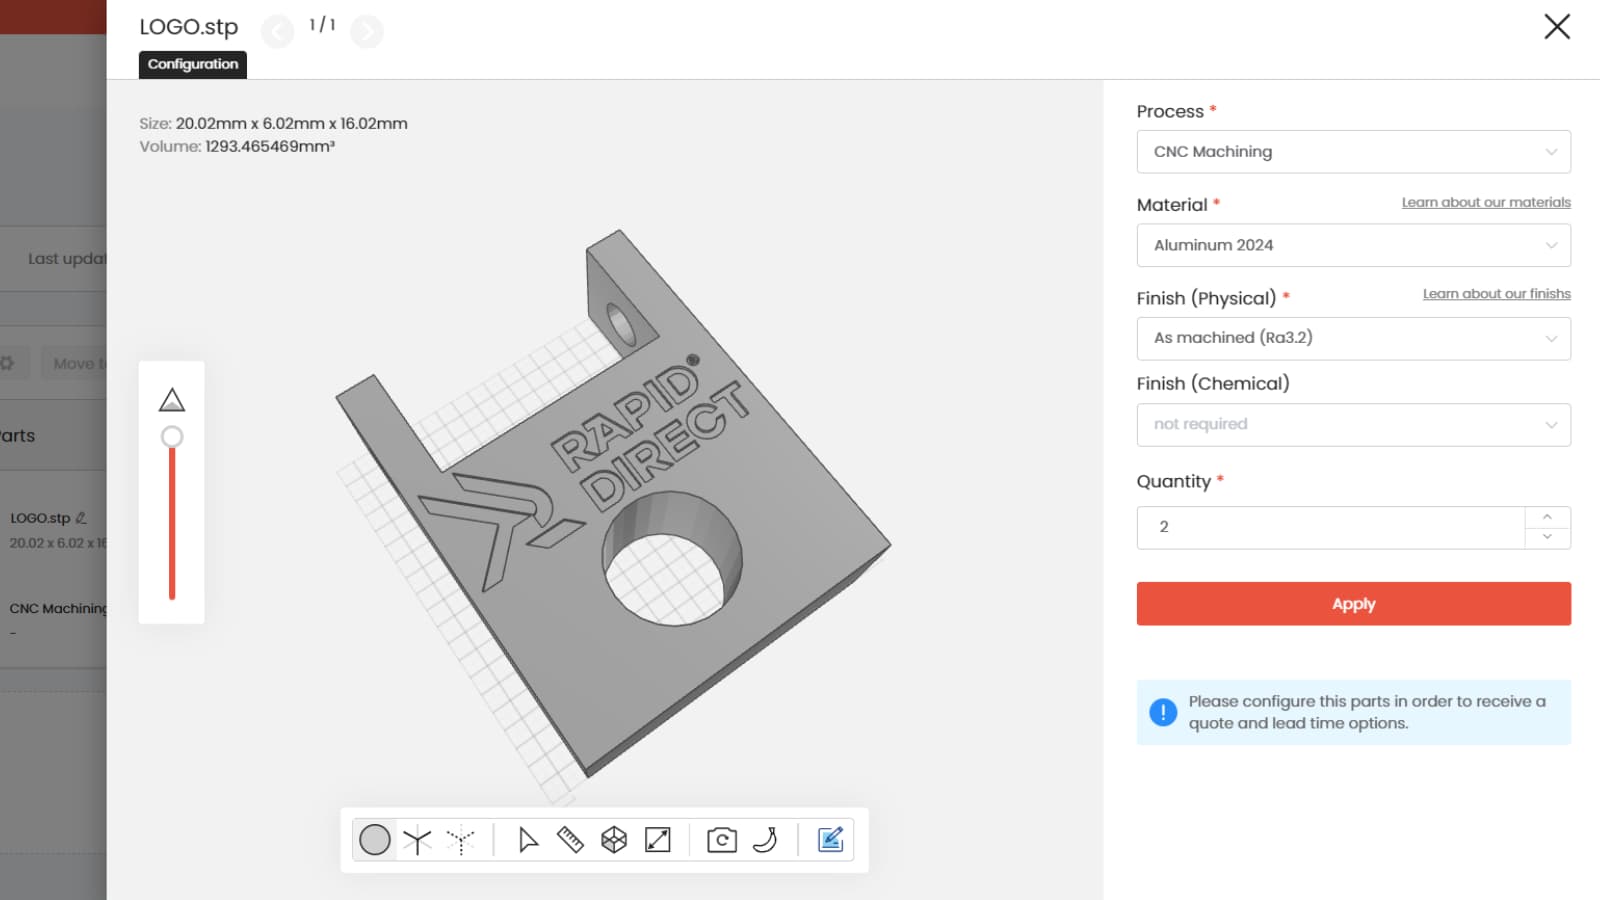
Looking for plastic prototype manufacturing and fabrication services? Check out RapidDirect and upload your file to get an instant quote.
Key Considerations for Plastic Rapid Prototyping
This section delves into the key considerations that designers and engineers must account for when navigating the complex landscape of plastic prototyping.
1. Purpose of the Plastic Prototype
The application of your prototype should be your first consideration. These prototypes find their utility across diverse industries and serve various purposes. For instance, they might be designed for non-functional testing in marketing or sales contexts. Alternatively, it could be aimed at functional testing with target users. Selecting a manufacturing method that accurately replicates the final product’s color, shape, and surface texture is critical to ensure the prototype meets its specific objectives.
2. Form
Does your design include tight tolerances or complex internal features? The answer to this question will help you choose the correct plastic prototyping technique. Some manufacturing options are limited when it comes to the geometry of designs. Some of them may require high-level design for manufacturing (DFM) optimization before they can be economical or cost-effective. Technologies that can effectively comply with the intended geometry of your plastic part are the best choices.
3. Volume & Cost
Part size and volume are closely related to the final cost of the prototyping process. Some processes may have higher front costs for setups and tooling while they produce inexpensive parts. In contrast, other processes may have low startup costs but increased part costs due to lesser automation, slower cycle times, and labor costs. Even with increased volumes, the costs of such processes only reduce marginally.
4. Lead Time
How quickly you need the prototype will also affect your choice of technique. Some prototyping methods use sophisticated tooling coupled with automation to create prototypes within 24 hours. However, tooling and setups for some methods could push lead times up to weeks. If you need testing done very quickly, you should choose methods that produce parts rapidly.
5. Material
Consider whether your prototype will be subjected to particular stresses or strains. It’s crucial to find a balance between cost, aesthetics, and functionality when choosing the right material for your prototype. Before making a decision, compare the desired characteristics of your application with the capabilities of various manufacturing methods.
Refer to the accompanying table for a comparison of common plastics and their suitability with different prototyping techniques.
| Vacuum Casting | 3D Printing | CNC Machining | Injection Molding | |
| ABS | Good | Excellent | Excellent | Excellent |
| Polycarbonate (PC) | Excellent | Good | Good | Excellent |
| Polypropylene (PP) | Fair | Good | Fair | Excellent |
| Nylon | Good | Excellent | Excellent | Good |
| Acrylic (PMMA) | Excellent | Excellent | Good | Good |
| Polyethylene (PE) | Fair | Good | Fair | Excellent |
| Polylactic Acid (PLA) | Fair | Fair | Excellent | Fair |
| Thermoplastic Polyurethane (TPU) | Good | Good | Excellent | Good |
| Polyether Ether Ketone (PEEK) | Fair | Excellent | Good | Excellent |
| Acetal (POM) | Good | Excellent | Fair | Excellent |
| Polyethylene Terephthalate (PET) | Fair | Good | Good | Excellent |
| Polyvinyl Chloride (PVC) | Good | Good | Fair | Excellent |
What Is the Plastic Prototype Cost?
Several factors affect the cost of plastic prototypes. These factors include the materials used, the part’s complexity, and the technique used. However, 3D printing is generally less expensive than CNC machining. Injection molding is somewhat more costly than the initially mentioned processes due to mold milling costs.
The low fixed costs of 3D printing ensure zero economies of scale. That is, the first copy has the same cost as the last. The fixed costs of CNC machining are also low, with total costs rising at a steady rate. So, you’d expect the cost of each part to be a little higher than similar parts produced with 3D printing.
For prototype plastic injection molding cost, is relatively high for the first few parts. However, the price steeps lower as the volume increases. It is clear that the plastic prototype cost is relative and depends largely on the method used and the volume required.
| Plastic Prototyping Techniques | Cost |
| Vacuum Casting | Moderate |
| 3D Printing | Inexpensive |
| CNC Machining | Low, but higher than 3D printing |
| Injection Molding | Costly, but depending on the volume |
Transform Your Ideas into Reality with RapidDirect Plastic Prototyping Services
At RapidDirect, we bring your visions to life with unparalleled expertise in manufacturing services, from initial prototyping to full-scale production. Our team of seasoned engineers and designers boasts a deep understanding of a myriad of techniques, including CNC machining, 3D printing, injection molding, and vacuum casting. We’re not just about building prototypes; we’re about crafting success stories.
What sets us apart? It’s our commitment to excellence. We offer tailored professional advice and insights to optimize your project, ensuring the highest quality at every stage. Partner with us and benefit from our extensive network across various industries, guaranteeing you the most efficient and innovative prototyping solutions available.
Experience the RapidDirect advantages:
- Instant Quotes: Receive a detailed quote within minutes of uploading your CAD file.
- Swift Turnaround: We pride ourselves on our ability to deliver orders swiftly, transforming your ideas into tangible products in just days.
- Expert Guidance: Our team is here to provide expert feedback and suggestions, helping you refine your project to perfection.
Ready to bring your project to life? Contact RapidDirect today! Upload your CAD file and embark on a journey to turn your innovative ideas into tangible, successful products. Let’s build the future together!
FAQs
There are various techniques available for making plastic prototypes. They include vacuum casting, injection molding, 3D printing, CNC machining, and more. Your choice will depend on your prototype’s application, volume, form, material, and cost.
The essential benefit of a plastic prototype is that it stimulates the actual product features. This way, you can quickly test the design’s correctness and product functionality before going into mass production.
The relative pricing of plastic prototype manufacturing will depend on the chosen manufacturing technique and the volume of parts required. Generally, 3D printing presents the most cost-effective option, while CNC machining is also relatively cheap. The injection molding price is a little on the high side because of the mold tooling.