You can find several molding techniques in manufacturing, each with unique capabilities and applications. Among those techniques, compression molding is known for low defects and high-strength precise parts, especially for thermoset materials. This molding process creates dimensionally consistent parts regardless of low, medium, or high-volume production.
Let’s break down its complexities, elaborating on the process, compression molds, required molding machine & tooling, design guide, compatible materials, pros & cons, applications, and many more.
What Is Compression Molding?
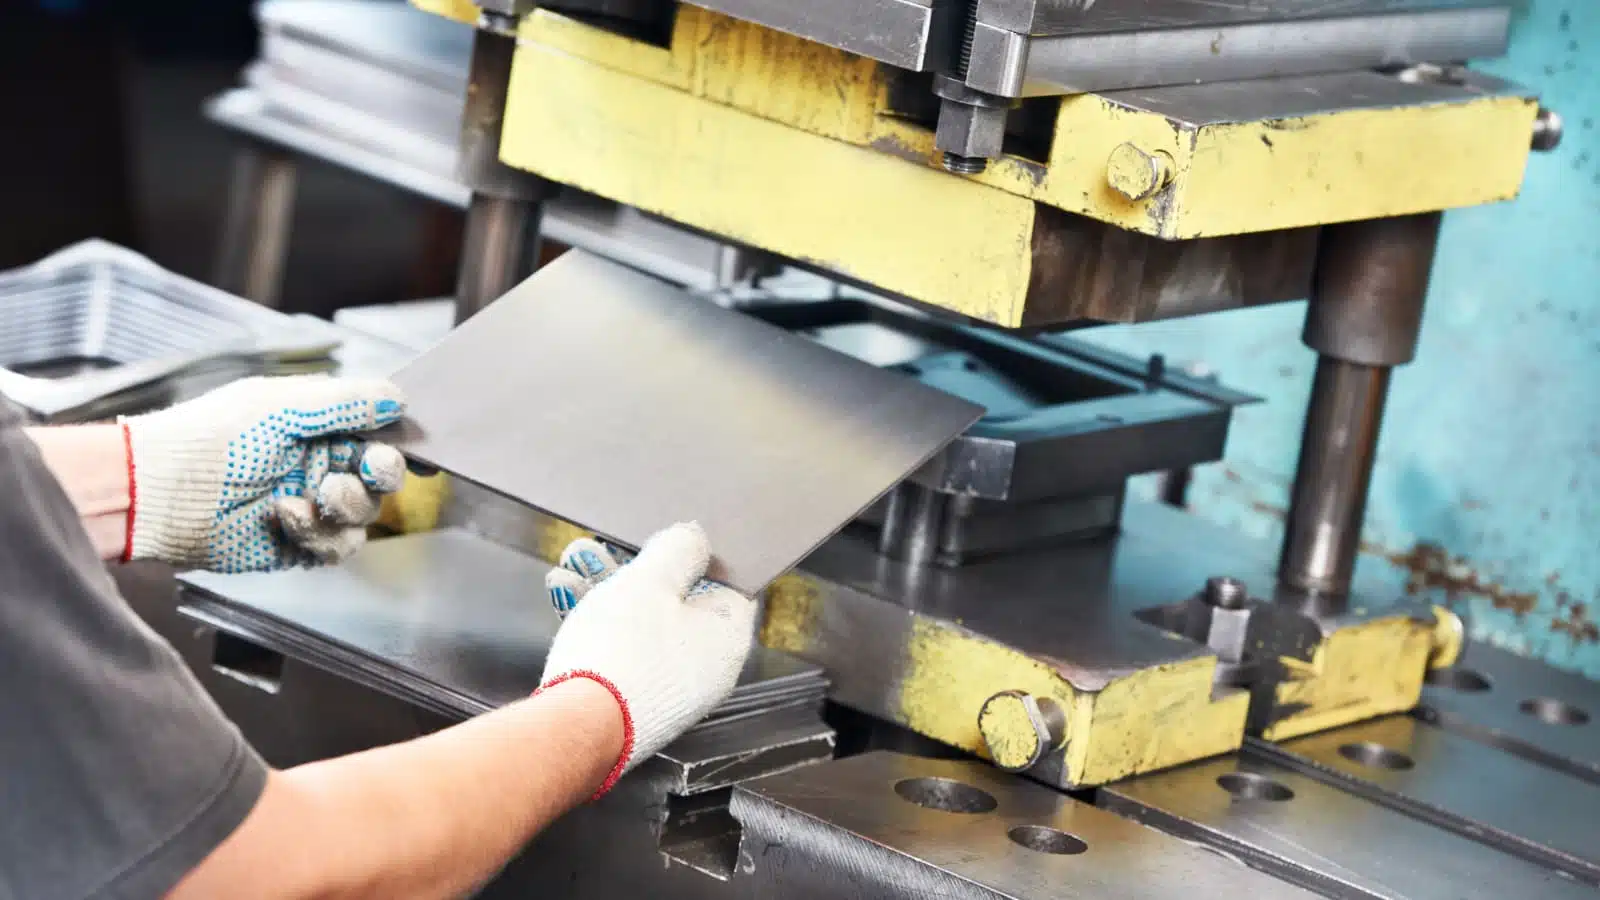
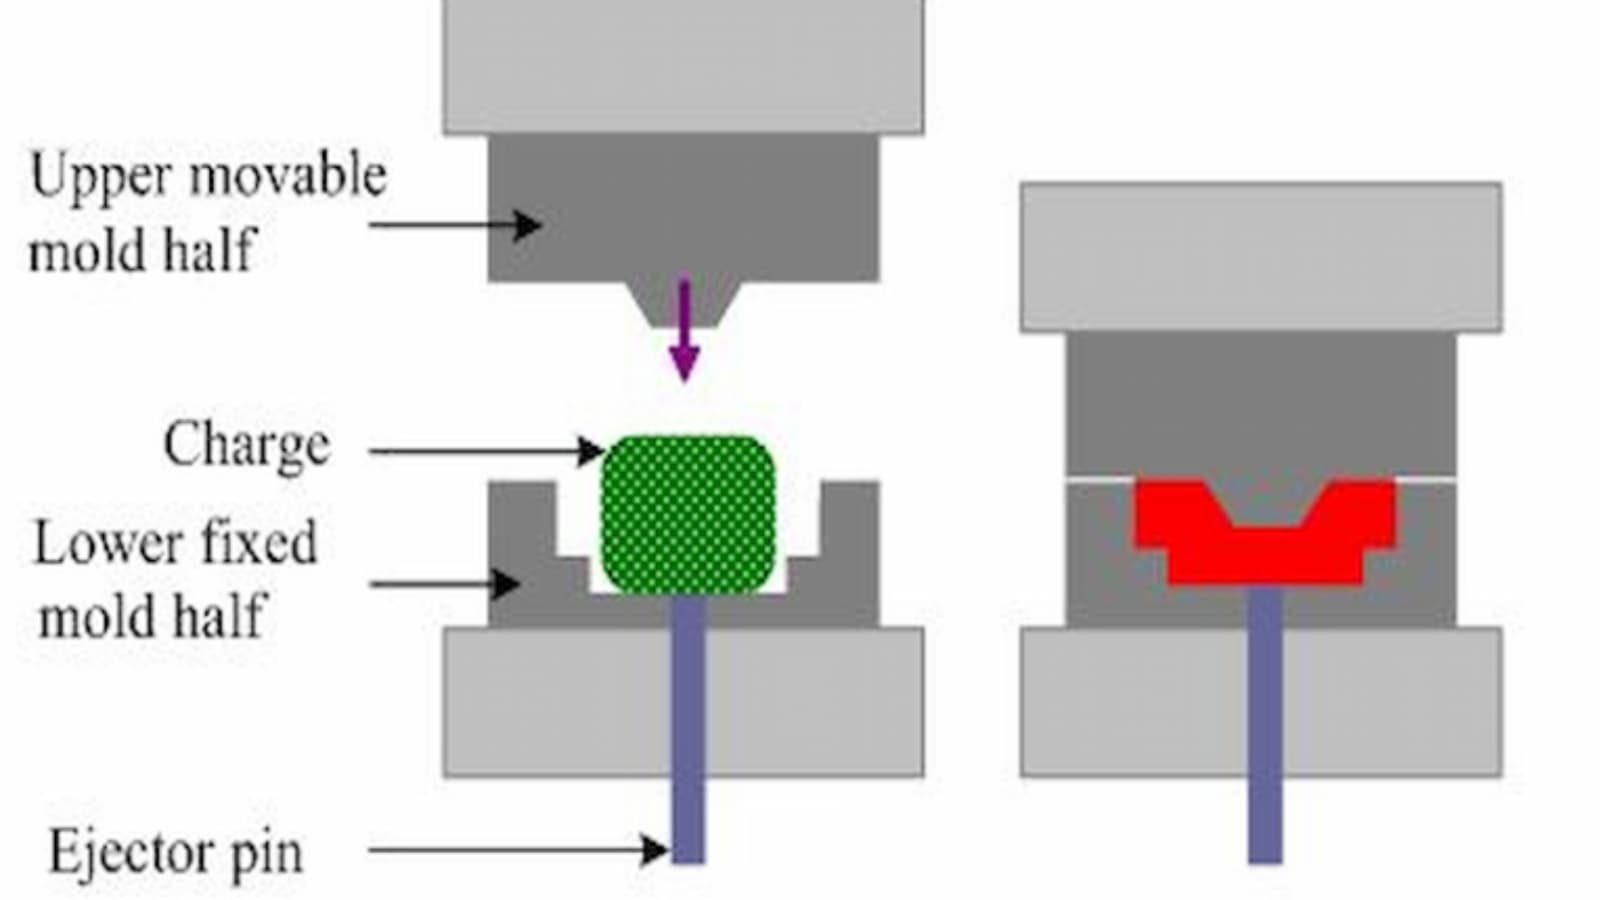
It is a type of molding technique that converts plastics, natural rubbers, composites, and elastomers into desired shapes. As the name suggests, two mold halves are compressed after placing the material in the mold cavity. Here, both the mold cavity and feed material are pre-heated. The heat and pressure dictate the material to flow into every mold intricacies. As a result, the material takes a detailed shape after cooling and solidification.
This molding process is used in various industries for high-strength and durable parts, from automotive and aerospace to kitchenware. It is compatible with a range of part’s thickness, size, and complexity. Furthermore, the capability of this molding process to produce parts in large volumes with accuracy and cost efficiency makes it indispensable in modern manufacturing.
Three Types of Compression Molds
You can use any type of compression mold based on your needs within three categories: flash, positive, and semi-positive. The main difference between these molds is how accurate the feed is in the mold. For example, flash mold involves feeding excessive material and flash escapes while compressing the mold halves. In contrast, positive molds take accurate feed and shape it while applying pressure and heat. It does not have such a thing as flashing out the fed material.
1. Flash Molds
These are the simplest mold forms and widely used ones. Flash molds do not require accurate feeding. They shape the necessary material volume and release the excessive feed from the parting line of two halves.
Although the process produces waste, flash compression molding is less costly for molding cheaper raw materials. These molds can produce complex shapes, including intricate details, undercuts, or irregular geometries. Additionally, flash molds are suitable for high-strength thermosets and some thermoplastics for parts with a quality finish.
2. Positive Molds
In these compression molds, feed or charge is an accurate amount of pre-heated material required to fill the cavities. It results in zero material waste during the process. These molds are ideal for expensive raw materials. Technically, positive molds are preferable if the design part has deep depth (typically more than its diameter.
On the other hand, the cost of positive mold is more expensive than flash. However, waste elimination, efficiency, and large-scale production can offset this cost.
3. Semi-Positive Molds
These molds combine the advantages of the previous two mold categories in plastic compression molding. Semi-positive molds do not need absolute charge measurement and are compatible with intricate shapes and features. Similarly, the cost is also high for semi-positive molds. In the process, the excessive material does escape from the parting line of a semi-positive mold.
Additionally, these are beneficial when the final product requires minimal finishing or when dealing with materials that are challenging to flash or positive molds.
Common Compression Molding Machines
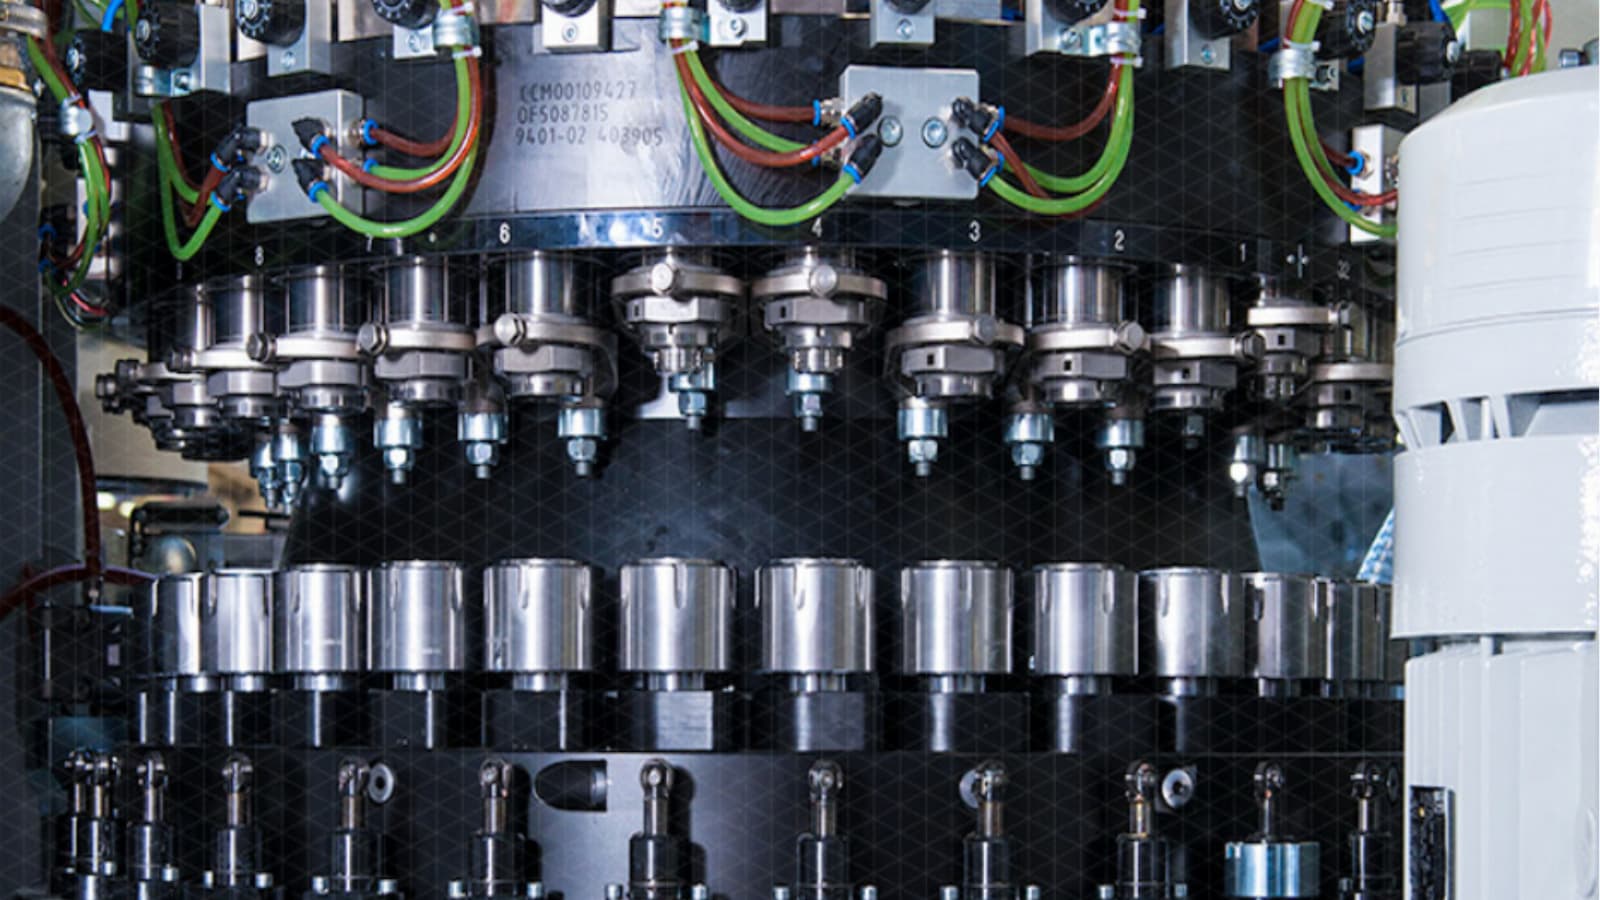
Different compression molding machines are available as a pressure source for compression purposes. These machines are the large tonnages that provide the necessary force for molding.
Hydraulic Compression Molding Machines
These machines use hydraulic systems to apply pressure to the mold and provide uniform force distribution across the mold surface. They involve a top and bottom platen that closes and presses the material into the mold cavity. Meanwhile, external sources heat the platens or press brakes. Subsequently, modern hydraulic machines come with precise temperature control and automatic loading and unloading mechanisms.
- Tonnage capacity: 5 tons to 2000 tons
- Uses: Small to large sizes and intricate parts like automotive body panels.
- Precision: Highly precise and creates detailed parts from thermosets and composites.
- When to Choose: Applications where material uniformity and precise temperature control are essential.
Cold Compression Molding Machines
As the name suggested, cold compression machines do not involve any heating system for press or platens. Instead, they use heat from the material itself or use the material at room temperature. Again, the presses are hydraulic in most of the cold compression machines.
Furthermore, the material should be able to flow on the pressure inside the mold since there is no additional heating system.
- Tonnage capacity: A few to hundreds of tons, suitable for both small and large weight parts.
- Uses: Large and thick parts from thermoset, thermoplastic, and rubbers.
- Precision: Precise but not as hydraulic.
- When to use: For material that does not require heat to flow and applications where heat might degrade the material properties.
Wet Compression Molding Machines
Wet or Liquid compression molding machines are mainly fit for composite parts. These machines are responsible for the Wet compression molding process, in which pre-impregnated composites with a resin typically known as “prepregs” are placed in a mold. Then, platens heat activates the resin within the material, causing it to flow and impregnate the fibers thoroughly. At the same time, pressure forces the material to conform to the mold shape, squeezing out the excess resin flash.
- Tonnage capacity: 20 to 2000 tons.
- Uses: High strength-to-weight ratio parts for automotive, aerospace, and sports equipment.
- Precision: Dimensionally precise parts and high control over material placement and resin content.
- When to use: Complex geometries or high-strength composite molding
DIY Compression Molding Machines
It refers to custom or home-built compression molding machines to address a particular or unique task. DIY machines are not feasible on an industrial scale. Despite that, these are popular among students, researchers, small businesses, and hobbyists.
DIY molding machines involve simple structures and only necessary features such as press breaks and heating arrangements.
- Tonnage capacity: Typically up to 20 tons.
- Uses: Training and educational purposes, prototyping, and small-scale production.
- Precision: Not as precise as other compression molding machine types.
- When to use: Simple geometries, material experimentations, and low-cost molding
The Compression Molding Process
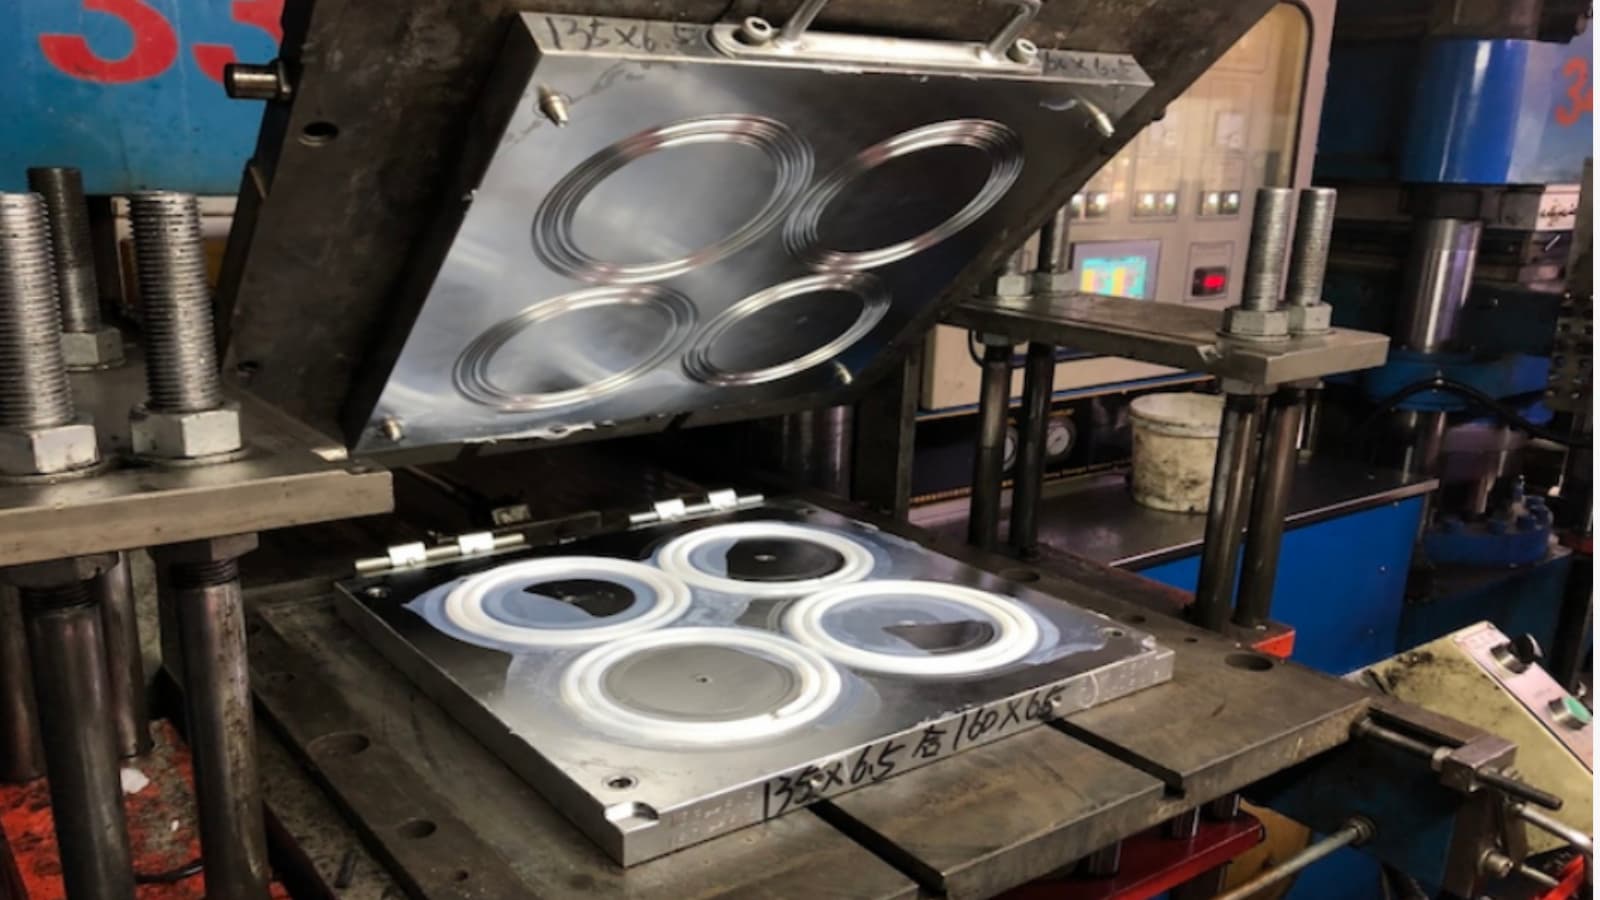
The compression molding process is a complex and detail-oriented approach. It involves careful execution of chronological steps, from material preparation to achieving the final product.
Here are the steps and their brief explanation;
1. Material Preparation
The material preparation for compression molding mainly includes cleaning, cutting, and preheating of raw material. This step ensures material is contamination-free and suitable for feeding in terms of size. Also, preheating enhances the flow inside the mold. Furthermore, curing agents like Dimethyl stannane or Benzoyl peroxide are mixed if necessary. These chemicals improve the bonding mechanism during the curing phase.
2. Mold Preparation
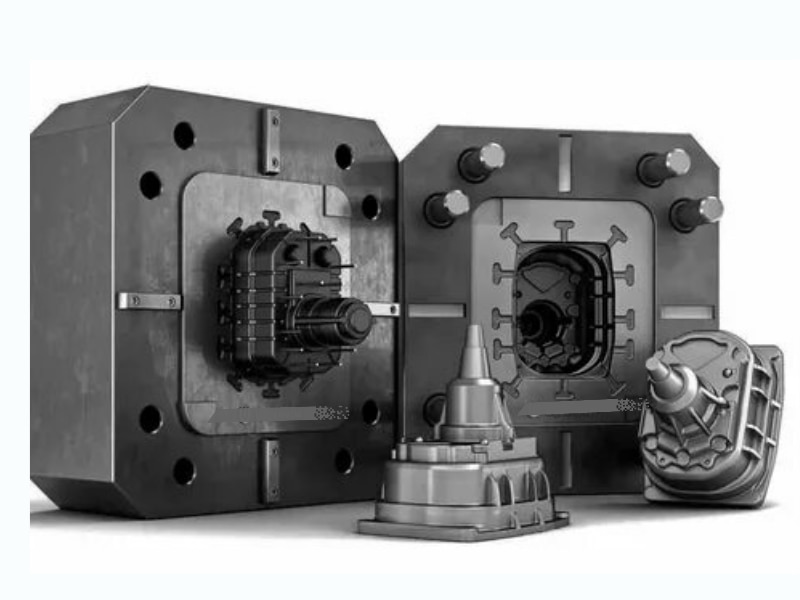
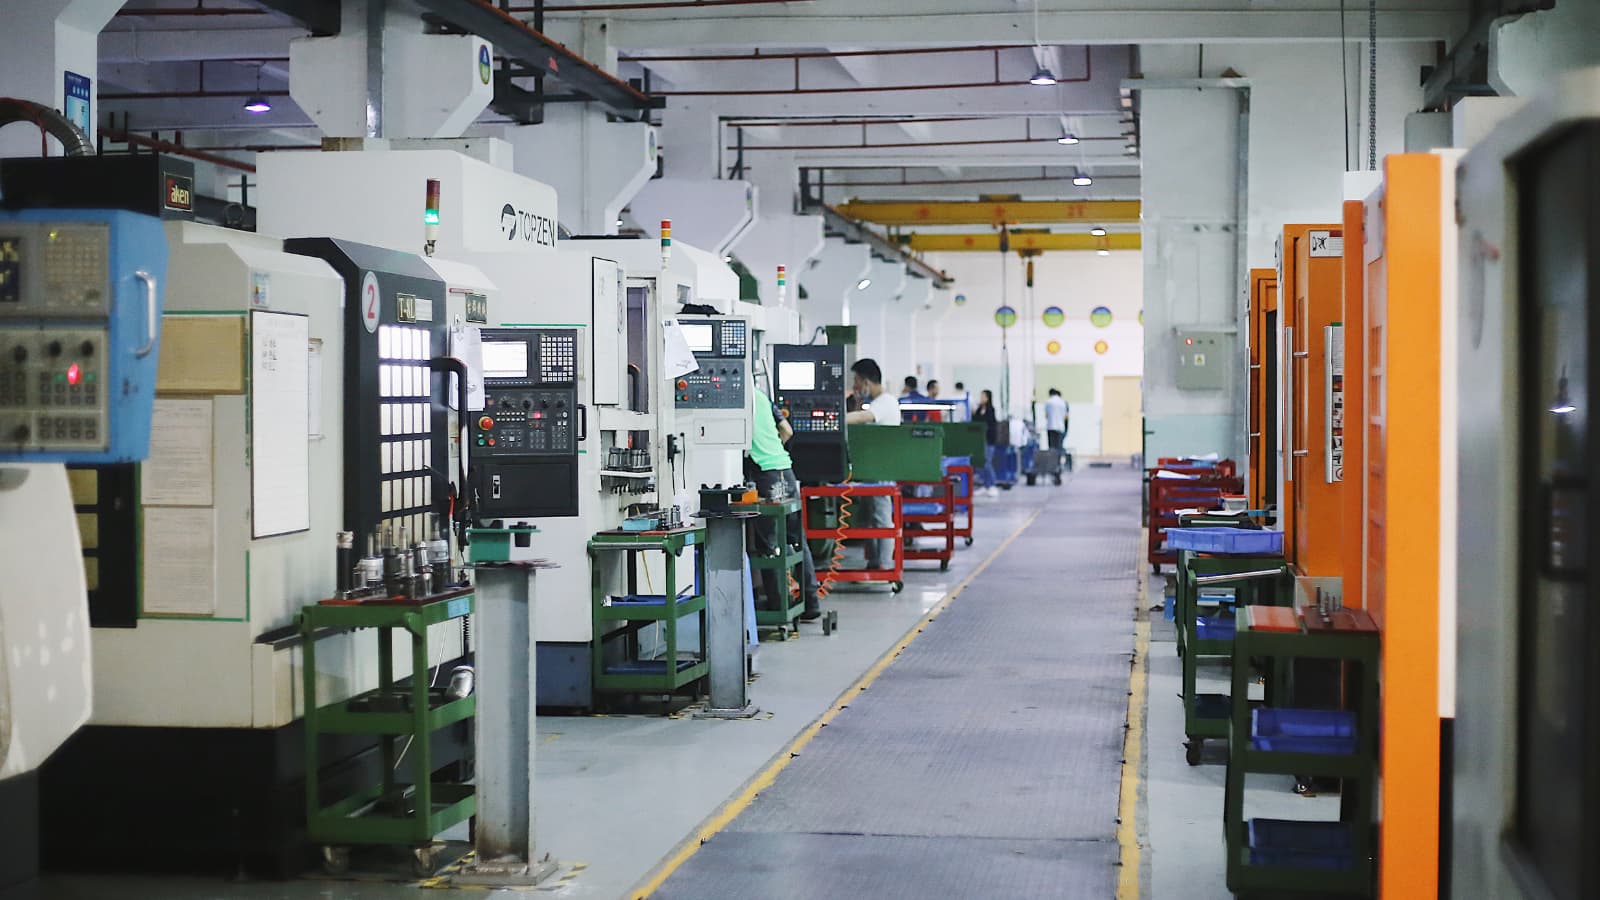
This step involves preparing a mold that can produce the intended geometry with accuracy and excellent surface finish, preserving the original properties of raw material. These molds are typically either aluminum or steel alloys. Subsequently, CNC machining, Die casting, and 3D printing are three popular approaches for manufacturing compression molds.
CNC machining is ideal for highly precise durable molds. On the other hand, die casting is best for complex mold geometries at a faster rate and lower cost. Next, 3D printing excels in rapid prototyping and producing molds with intricate details or unusual geometries.
3. Loading the Material
Once the mold is ready, the pre-measured amount of material goes into the mold. It implies either a manual or automatic material loading system containing a conveyor or load hopper. However, uniform material placement is essential as it facilitates the material flow evenly throughout the mold cavity during compression.
4. Molding
The machine induces the relative motion between two halves of molds to bring them close. Meanwhile, press brake or platens compress with suitable tonnage. Then, the material fills the cavity, forcing the excessive load outside. The heat might or might not be applied to press platens based on machine type.
Here is the general formula to calculate the required tonnage:
Required tonnage (in tons) = Width X Length X 2000 pounds X 0.0005 (Width & length in any unit)
5. Curing
Curing is responsible for setting the compressed load into the final solid product by lowering the temperature of hardening chemicals. In this stage, the load or feed goes through a cross-linking reaction that transforms the material from a pliable to a rigid phase. In the case of curing agents, they trigger the cross-linking reaction during the curing process.
6. Cooling
After the curing cycle, the mold temperature starts to decrease gradually. The cooling can be achieved by allowing the heated mold to cool naturally or using air or water cooling methods. However, passive cooling reduces the cooling time and makes the mold ready for subsequent cycles early.
7. Mold Opening and Part Removal
It involves ejecting the ready part from the mold. Mold openings often involve control arms connected to the mold halves. While, part removal for complex mold is done with an ejector system consisting of pins or plates, which pushes the part out of the mold.
Furthermore, release agents can be mixed during feedstock to make this process easier. What the release agent does is prevent the molded part from sticking to the mold surface.
8. Trimming and Finishing
It is the last step of compression molding. Now, parts are subjected to trimming and finishing after they have been removed from the mold. This stage includes refining the part to meet final specifications and aesthetic requirements.
Trimming is often a manual tool or CNC machining method to remove the attached material or flash. On the other hand, sanding, polishing, and powder coating are the common finishing techniques for molded products or parts.
Compression Molding Defects
Defects are common in produced parts, regardless of manufacturing methods. However, we can adopt prevention strategies if we know the potential defects, their causes, and how to avoid or solve them.
The table below shows the common compression molding defects and their root causes.
| Defect | Why It Appears | Prevention Strategy |
| Blisters | It refers to raised or layered areas on the surface, caused by compressed air trapped inside or moisture in raw material. | Pre-dry material to remove moisture and avoid air entrapment. |
| Chips | Result from improper handling, brittle materials, or excessive stress during compression. | Use appropriate material, handling, and ejection mechanisms. |
| Discoloration | It results from improper material or pigment mixing, oxidation, or exposure to heat and UV. | Add necessary pigments and additives. |
| Shrinkage | Occur when the part cools and solidifies unevenly or too quickly. | Design the mold and cooling mechanism for uniform cooling across the mold. |
| Flow Lines | Inadequate material flow or rapid cooling of the material. | Optimize mold design and processing conditions. |
| Short Shots | Due to insufficient material, low pressure, or premature cooling. | Ensure the required material volume is used and maintain correct molding conditions. |
Compression Molding Design Guide
The easiness and difficulties of any compression molding project depend on the part design specification. You can apply different considerations during the design process to make the process more precise, easy, and effective.
1. Wall Thickness
The compression molding approach gives more design flexibility for wall thickness as it can create both thin and thick wall parts. The typical thickness range is 0.5 to 12 + mm, while 1.5 to 6 mm is considered the optimal thickness. However, choose the wall thickness that best suits your application needs. Otherwise, it will increase the cost due to the high curing and cooling period.
2. Undercuts
If your parts have complex undercuts, assess whether they are machinable with CNC and EDM or not. If not, it might need other tools or methods to achieve that. Additionally, ensure the undercut section remains undamaged during the ejection process.
3. Insert Molding
It refers to a process that involves embedding metal or other parts within the molded material, like threaded aluminum inserts in a plastic part. So, if your design contains an insert molding feature, ensure proper bonding with the molding material. The placement and orientation of the inserts need to be precise, and the material should flow around them uniformly during the molding process.
4. Draft Angles
These are the slight tapers on the vertical surfaces of a mold for easier removal of the finished part. The taper prevents suction or sticking that can occur with perfectly vertical walls. Otherwise, the part sticking on the surface can damage the part while ejecting from mold. Generally, a minimum recommendation of draft angle is 1 to 2°. However, it can be 2 to 4 ° for intricate and deep parts.
5. Snap Fits
Snap fits allow two parts to be clicked or joined together without mechanical assemblies. They typically consist of a protruding tab on one part and a corresponding undercut or recess on the other. If you need one for your design, choose the right type (cantilever, annular, etc.) and position that perfectly on both parts.
6. Texture
First, ensure what type of texture your parts require. Think about its functionality, not only appearance. Then, choose the right texture in the design. According to the Society of Plastic Industries(SPI), the texture standards are SPI D1-3 for textured, SPI C1-3 for matt, SPI B1-3 for semi-gloss, and SPI A1-3 for glossy texture.
Types of Materials Used in Compression Molding
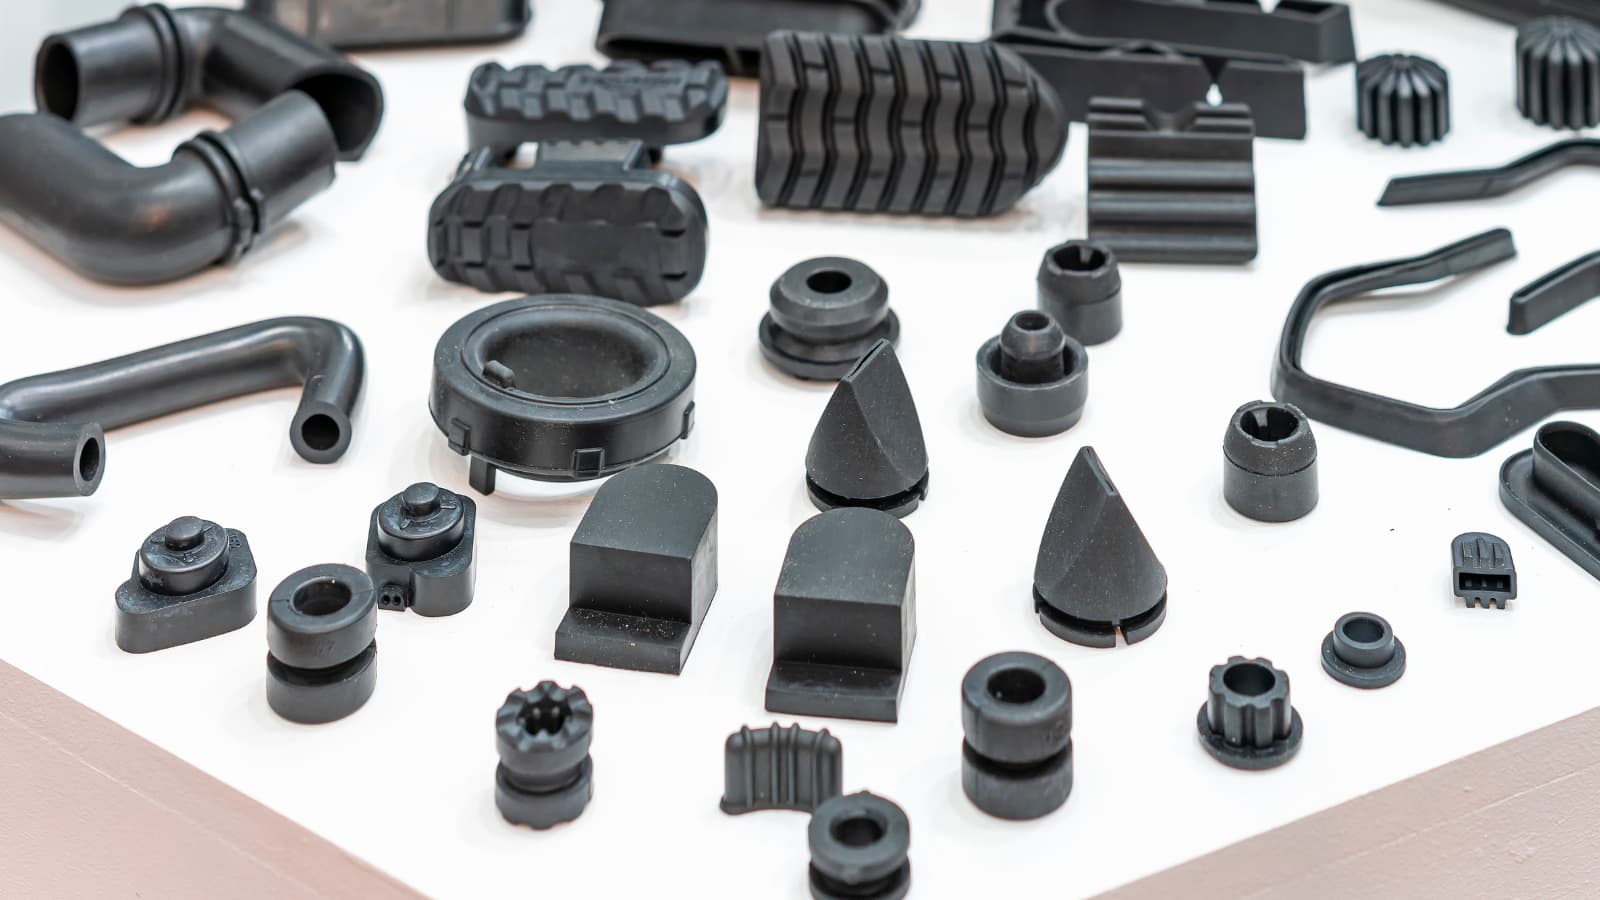
As previously mentioned, the compression molding process is compatible with different thermosets, thermoplastics, rubbers, and composites. This material diversity allows us to cater to many manufacturing needs with unique requirements.
Thermoset Plastics
Thermosets are the most popular compression molding materials known as plastics that can not be remolded after liquefying. However, thermoset plastics are cost-effective and lightweight materials with excellent electrical insulating and heat resistance properties. Next, thermosets are preferable for robust and heavy-duty parts like automotive and industrial components.
- Epoxy Resin
- Phenolic Resin
- Polyester
- Polyurethane
- Vinyl Ester Resin
Thermoplastics
Unlike thermosetting plastics, thermoplastics can be reheated, reshaped, and cooled repeatedly without chemical change. These plastic materials offer chemical resistance, good strength, and durability. They are malleable and formable, enabling easy plastic compression molding. Consequently, Compression molded thermoplastic parts are common in automotive, medical, electrical, and consumer goods.
Here are the typical compression molding thermoplastics:
- Acrylonitrile Butadiene Styrene (ABS
- Polypropylene (PP)
- Polycarbonate (PC)
- Polyvinyl Chloride (PVC)
- Polystyrene (PS)
- Polyamide (Nylon)
Rubber Materials
Rubbers are elastomeric materials with high elasticity, which means they can return to their original shape after deformation or stretching. Different rubbers are known for their flexibility, durability, and resilience for compression molding manufacturing. Subsequently, the applications of compression molded rubber parts are seals, gaskets, hoses, and insulation for different industries.
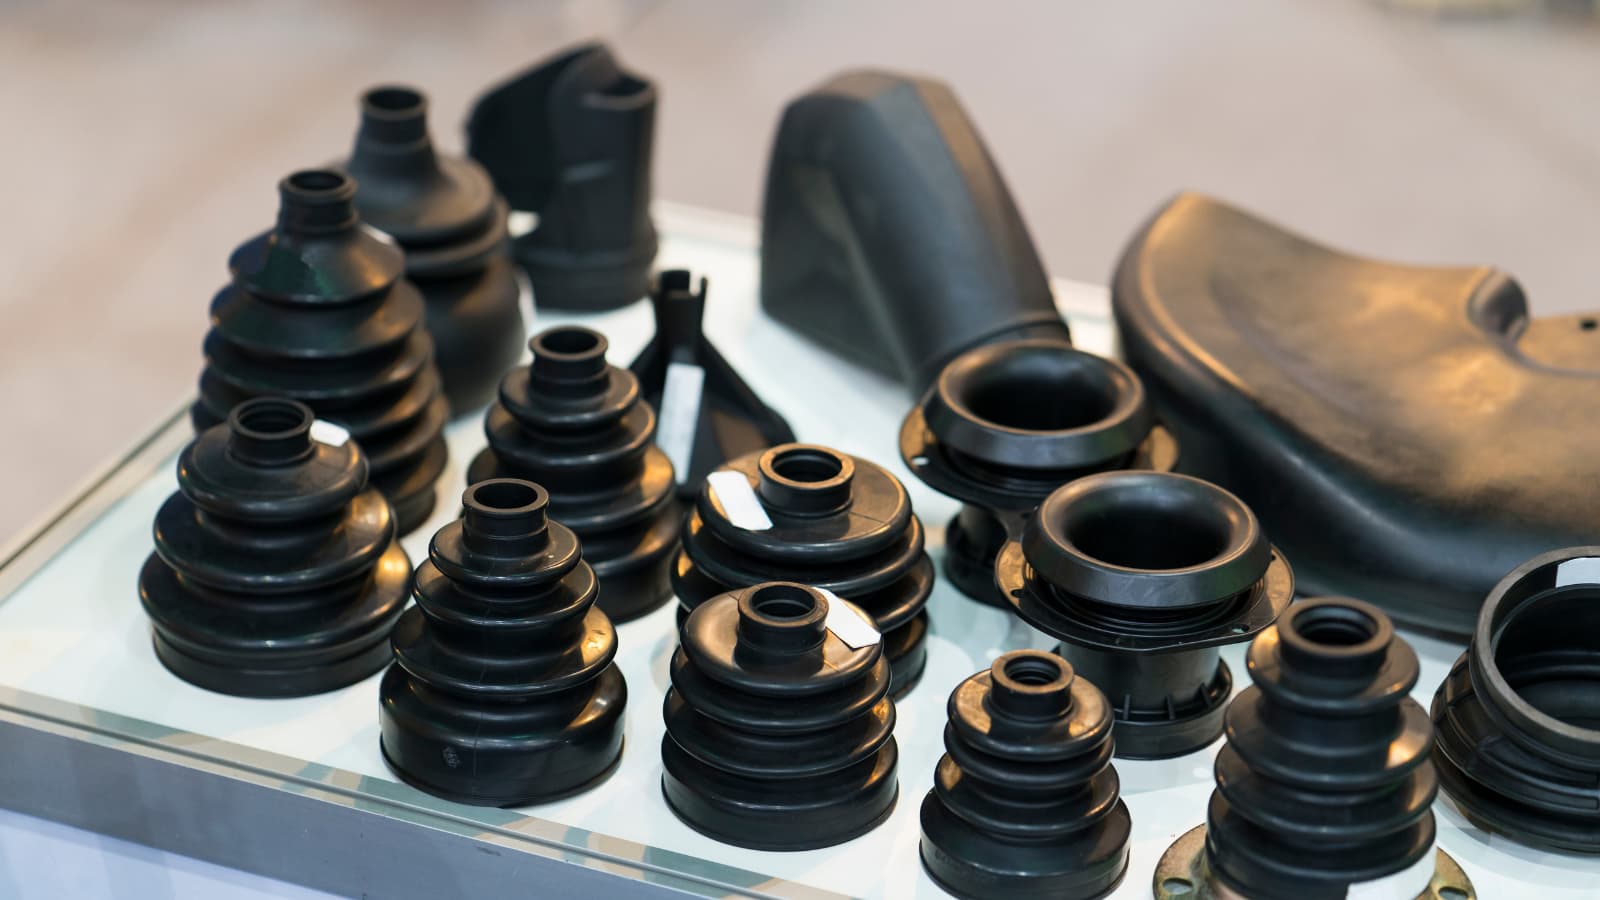
Here are the common materials for rubber molding:
- Styrene-Butadiene Rubber (SBR)
- Natural Rubber
- Nitrile Rubber (NBR)
- Butyl Rubber (IIR)
- Ethylene Propylene Diene Monomer (EPDM)
- Silicone Rubber
Composites
Often, thermosets are mixed with other materials to form a suitable composite for compression molding projects. Composites enhance or combine the properties of constituent materials in the final product. For instance, mixing thermoset resins like epoxy or polyester with carbon or glass fibers forms high-strength composites. So, they can be compression molded into high-strength components such as wing panels or fuselage for an aircraft.
The following are the composite materials for compression molding:
- Glass Fiber Reinforced Plastic
- Carbon Fiber Reinforced Plastic
- Polymer Matrix Composites
- Basalt Fiber Reinforced Polymer
- Kevlar® Reinforced Composites
- Fiber Reinforced Silicon Carbide
Although there are hundreds of material choices, the right material for your project depends on several factors like application requirements, cost, desired properties, etc.
Applications of Compression Molding
Compression molding mainly processes thermosets, rubbers, thermoplastics, and occasionally composites. Next, the parts from these raw materials are applicable across several industries. Let’s see for what parts and where exactly.
| Industry | Application Examples |
| Car Parts | Fenders, car panels, interior parts, LED lighting housings, engine components, and dashboards. |
| Aerospace Components | C-channels, H-beams, U-sections, L-stringers, T-strings, O-rings. Door and window frame, etc. |
| Electrical Appliances | Electrical sockets, motor housing, control panels, switches, faceplates, and metering devices. |
| Household Items | Utensils, handles & knobs, bowls, cups, plates, especially melamine items, decorative vases and containers, bathroom accessories, etc. |
| Medical Equipment and Components | .Plastic syringe stoppers, silicone respirator masks, prosthetic limb parts, diagnostic equipment housing, surgical tray components, and dental device parts. |
Although compression molding processes have diverse application possibilities, they require expertise and equipment to utilize their full potential. In this context, RapidDirect could be your collaborating partner. We have all the experience and manufacturing facilities to handle all types of molding projects. We also offer injection molding services to cater to any needs, from prototyping to mass production.
Advantages and Disadvantages of Compression Molding
Advantages
- The low cost of compression mold tooling makes it more cost-effective than other methods.
- It produces parts with a smooth and attractive surface finish.
- It creates parts with varying thicknesses, textures, and integrated features.
- High uniformity and consistent quality across all the parts and batches.
- Good dimensional accuracy.
- Supports customization and features like insert molding and over-molding.
- Larger sizes and weights are compatible compared to other molding processes.
Disadvantages
- Unsuitable for parts with highly intricate internal geometries, sharp edges, steep angles, and thin walls.
- It requires longer cycle times than other molding processes like injection molding.
- Risk of flash formation, demanding additional trimming.
- High carbon footprint
- Unsuitable for parts requiring extremely fine tolerances.
Comparison with Other Molding Techniques
Since every molding technique holds unique manufacturing capabilities, understanding the differences is essential. It guides you to choose the best one according to the part’s specifications and functional requirements.
So, let’s compare compression molding with two other popular molding processes: Injection molding and transfer molding.
Injection Molding vs Compression Molding
Unlike the compression method, injection molding involves creating the desired part by injecting molten material into the injection mold at high pressure. So, the main difference between compression molding vs injection molding is how a feed is prepared and placed in the mold cavity. Furthermore, the cycle time of molding is significantly less in injection molding production.
The compression molding technique is a wise option for producing large-size shapes from thermosets and composites. In contrast, injection molding suits for intricate and relatively small parts, predominately from thermoplastic materials.
Transfer Molding vs Compression Molding
The main difference in transfer vs compression molding is how the material is placed and formed into the mold. Transfer molding loads of heated material into a chamber above or adjacent to the mold. When the mold closes, the material forcefully foes through channels into the mold cavity by a plunger. On the other hand, compression molding involves direct and simple feeding in an open mold.
Transfer molding is suitable for small and complex designs where precision is essential. For example, electronic connectors and insert moldings. It’s ideal for thermoset plastics and composites.
Conclusion
Compression molding can address the demands of robust parts across different sectors. It is the cost-effective way to manufacture thermosets, thermoplastics, rubbers, and a few composite components in small to medium volumes. However, the process is complex and requires the correct execution of each step, from material preparation to post-processing.
FAQs
Compression molding is known for creating structurally robust parts. So, the durability of compression-molded parts is much higher than parts from other methods.
It is completely safe for manufacturing with established protocols and safety measures. Operators can wear personal protective equipment (PPE), while the machinery used in compression molding includes safety features.
Yes! There is a high demand for compression molding in current manufacturing industries due to its versatility & efficiency. This demand is strong in automotive, aerospace, electrical, and kitchenware.
The typical lifespan of products manufactured through compression molding predominantly depends on the application environment and material used. It can range anywhere from 4 to 20 years or more.
