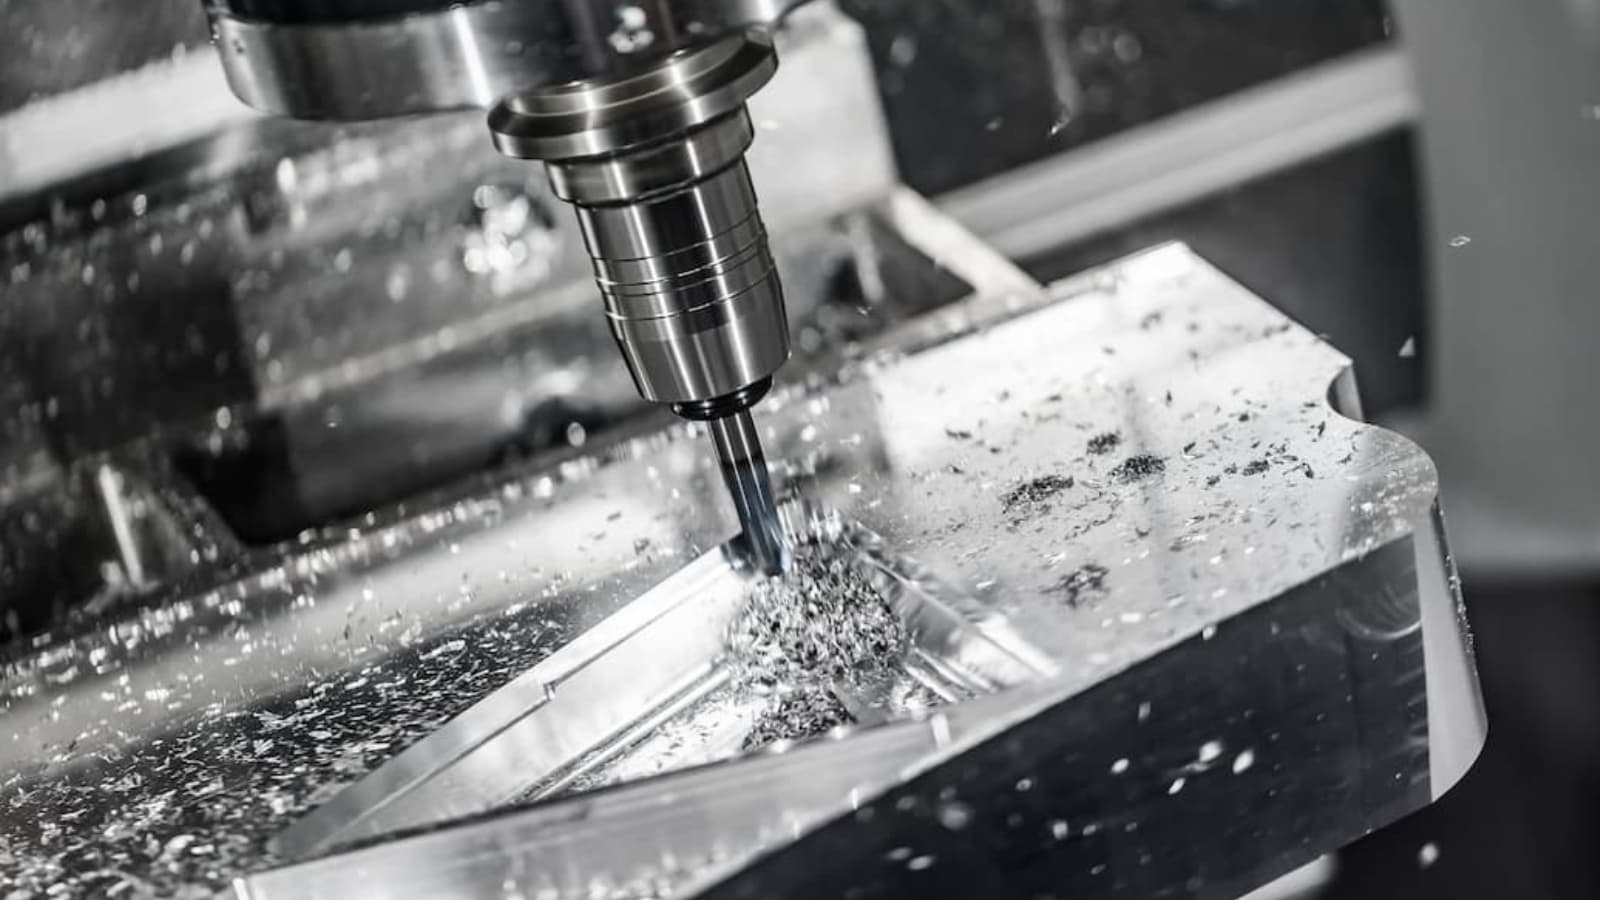
CNC lathe machines perform multiple machining operations to achieve specific part features. Turning is commonly associated with lathe work. However, it is just one aspect of its capabilities. The lathe is a comprehensive manufacturing device, that handles diverse types of turning operations.
Different types of turning operations result from variations in tool ends and the kinematic relationship between the tool and the workpiece. The processes follow distinct procedures to meet design specifications. However, each operation can achieve distinct results for individual projects.
Therefore, there is a need to understand the different types of turning operations and their peculiarities. This article will examine 10 of the most vital operations performed on a lathe machine, explaining their processes and applications. You will also learn how you can choose the best one for your project. Let’s get right into it.
How Does Turning Operation Work?
Turning is a machining process used to create cylindrical parts, where the cutting tool moves in a linear path while the workpiece rotates. This process is typically performed on a lathe, which is a machine tool that holds and rotates the workpiece against a fixed cutting tool.
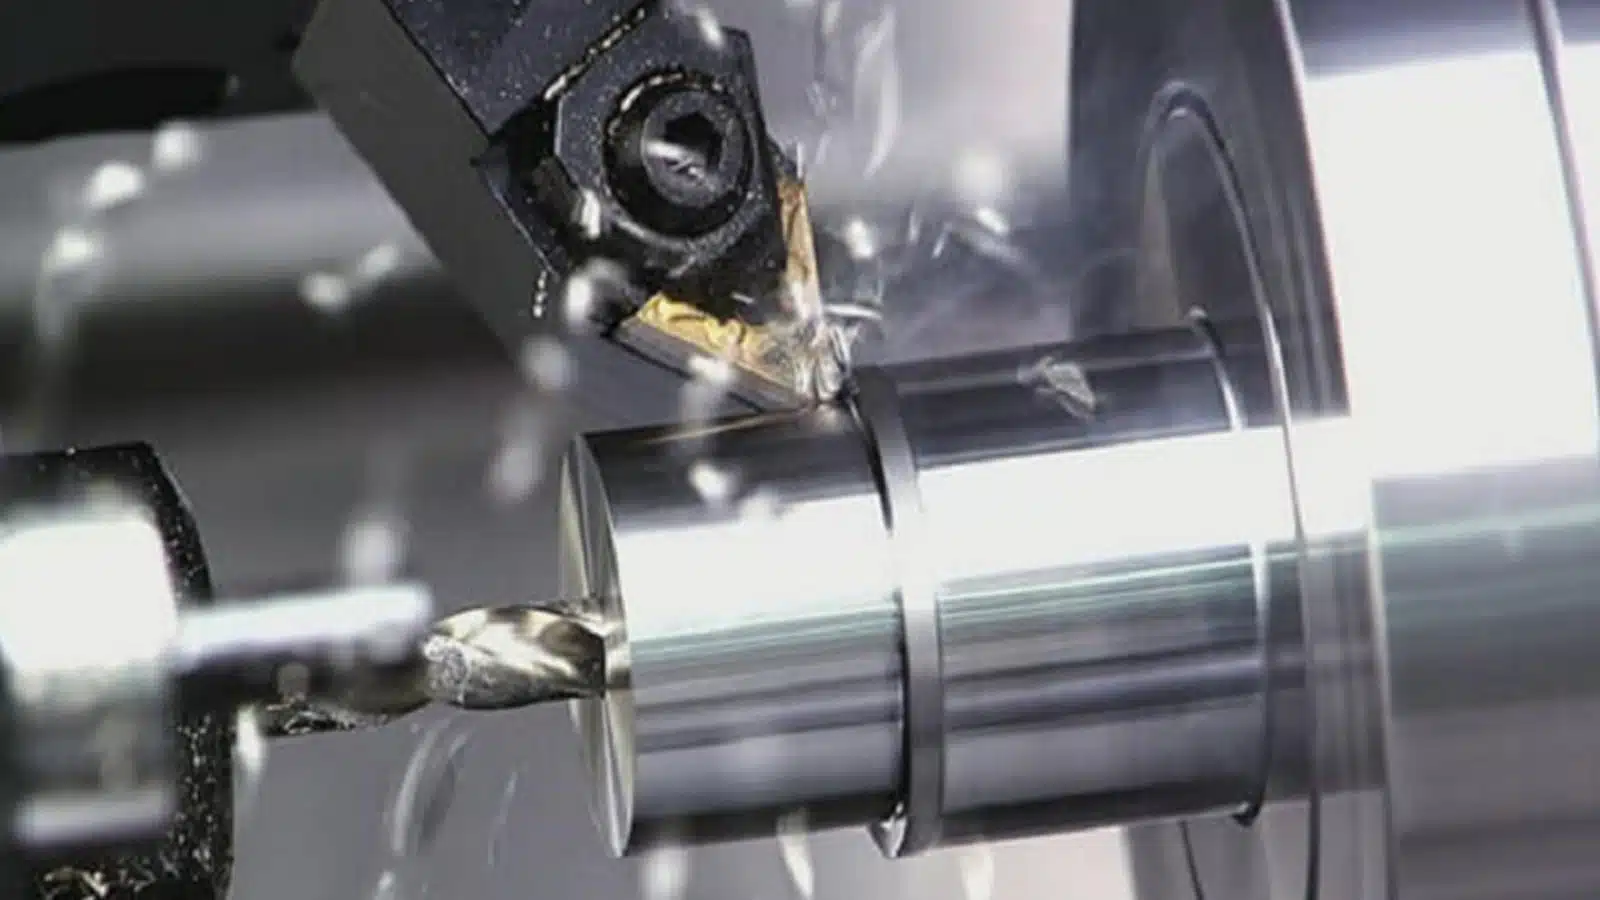
The basic steps involved in a turning operation are:
- Setup: The machinist begins by calibrating and setting up the CNC turning apparatus to ensure optimal performance. Then, the workpiece is securely fixed to the lathe spindle for stable rotation.
- Tool Selection: The next step involves choosing the cutting tools and positioning them within the tool turret for efficient tool changes. The selection depends on the material and design requirements.
- Program Loading: The machinist then loads the CNC machining program into the system and completes the setup. This program guides the workpiece rotation and controls the movement of the cutting tool.
- Machining Operation: Once the program is loaded, the CNC machining operation begins. The workpiece rotates, and the cutting tool shapes it based on the programmed design. The cutting parameters are adjusted for optimal material removal rates and dimensional accuracy.
- Real-time Monitoring: Sensors monitor conditions during turning for real-time adjustments, ensuring consistency and meeting quality standards.
Types of Turning Operations
The turning process can involve several different operations, depending on the outcome you’re willing to achieve. Before we get into the different types of CNC turning operations, here’s a brief overview of what you should know about them:
| Types of Turning Operations | Description | Advantages | Applications |
| Turning | Shapes rotating workpieces using a single-point cutting tool. | Efficiency, precision, versatility, scalability | Shafts, bushings, axles, pins, various rotational components |
| Tapping | Forms screw threads inside pre-drilled holes using a tap. | Strong connections, standardization, disassembly/reusability | Creating threaded holes for assembly in various industries |
| Threading | Carves external screw threads on the outer diameter of a workpiece. | Strong and standardized assembly, versatility, scalability | Manufacturing threaded rods, bolts, fasteners, etc. |
| Boring | Refines and enlarges existing holes in workpieces. | Dimensional accuracy, surface finish, capability | Enlarging pre-drilled holes for bearings, shafts, etc. |
| Knurling | Enhances the gripping ability of workpiece surfaces by creating textured patterns. | Improved grip, safety, aesthetics | Handles, knobs, machine parts require secure grip |
| Reaming | Refines accuracy and surface finish of existing holes. | Dimensional accuracy, surface finish, precision | Applications requiring precise fits, like bearing housings |
| Drilling | Creates cylindrical holes in workpieces. | Versatility, efficiency, integration | Creating holes for fasteners, pins, and further machining processes |
| Facing | Flattens end faces of cylindrical workpieces. | Reference surface, versatility, integration | Creating flat and square surfaces for mating surfaces, bearings, etc. |
| Grooving | Cuts grooves or channels around workpiece circumference. | Functional channels, parting off, aesthetics | Creating channels for O-rings, snap rings, parting off individual components |
| Parting | Separates completed components from raw bar stock. | Efficiency, automation, cost-effectiveness | Producing multiple identical parts from a single material bar |
Turning
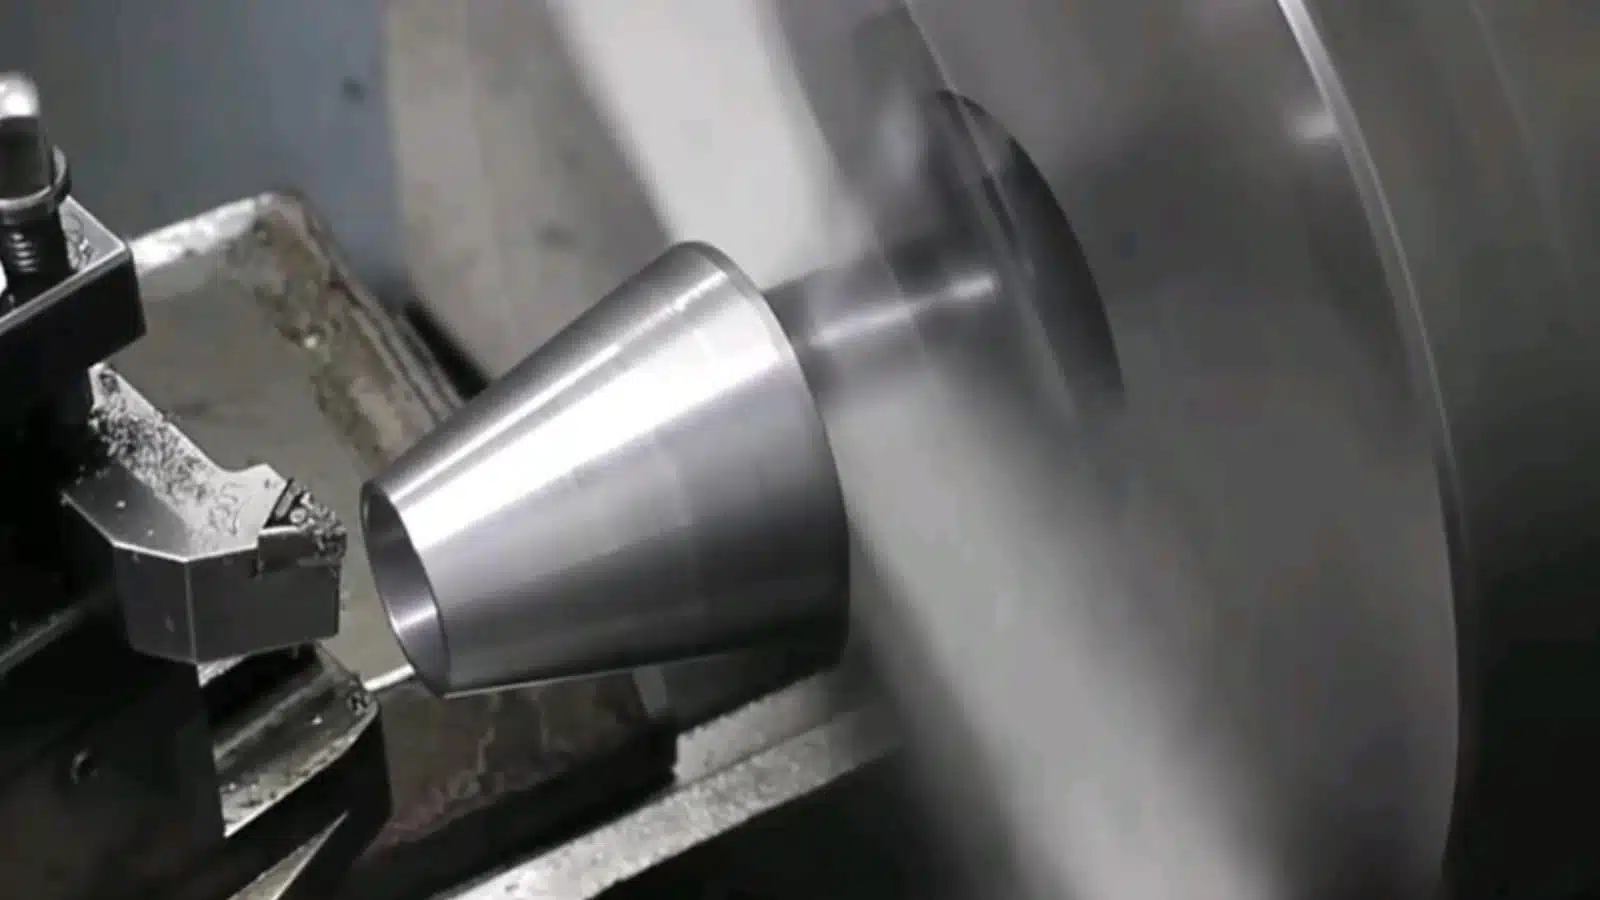
Turning is the most frequent operation on a CNC lathe. This operation shapes a rotating workpiece using a single-point cutting tool. The tool, positioned at a specific angle and feed rate, removes material from the workpiece as it rotates, reducing its diameter to achieve a desired cylindrical form. The toolpath can be straight for constant diameter sections or follow a programmed contour for tapered or curved shapes. There are two primary turning operations: rough and finish.
Rough turning focuses on quickly reducing the workpiece to a near-final thickness, prioritizing speed over precision and surface quality. Finish turning, however, aims to achieve precise dimensions and a smooth finish.
However, there are other broader types of turning:
- Step Turning: It forms two surfaces with a sudden diameter change, creating a step-like feature.
- Taper Turning: This process generates a gradual slope between two surfaces of differing diameters by moving the cutting tool and workpiece at an angle to each other.
- Chamfer Turning: It shapes an angled edge, smoothing the sharp transition between two surfaces of varying diameters.
- Contour Turning: The cutting tool moves along a predefined path to sculpt the workpiece’s surface. Achieving the desired shape might require several passes with a contouring tool, although some tools can achieve the same shape in just one pass.
Turning helps create a vast array of symmetrical, rotational components. Shafts, bushings, axles, pins, and other parts requiring precise cylindrical features rely heavily on turning operations. The ability to achieve different diameters and lengths on a single workpiece makes it a highly versatile process. Despite its many advantages, this process is primarily suited for creating rotational features. Complex geometries may require additional machining processes for non-cylindrical elements.
Tapping
This turning operation involves using a tapping tool to cut threads into a workpiece by entering it axially through an existing hole. A tap, which is a multipoint cutting tool, is employed to operate. The workpiece rotates slowly on a faceplate, while a special fixture supports the tap on a tailstock spindle. Different tap geometries create various thread profiles like metric, imperial, or Unified Coarse Thread (UNC). The hole size determines the compatible bit size for the tapping tool.
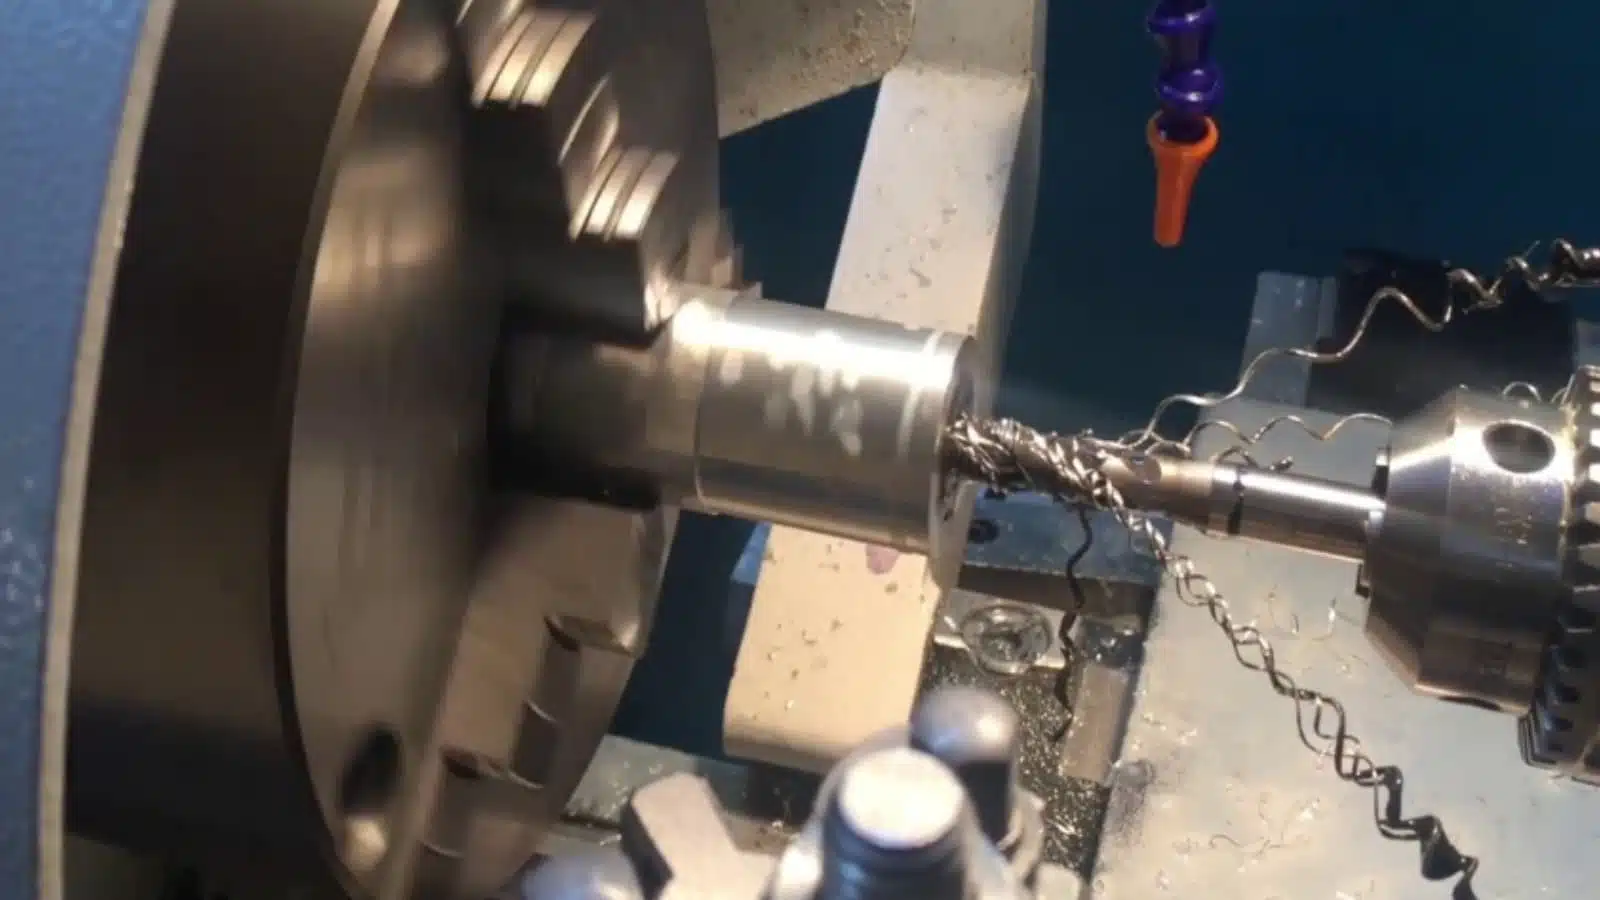
Tapping is essential for creating threaded holes in components for assembly purposes. It’s used extensively in almost every industry, from appliances to automotive parts and aerospace components. Properly tapped holes provide strong and standardized methods for fastening components, enabling easy disassembly and reassembly when needed.
However, a precisely drilled hole of the correct size is crucial for successful tapping. Improper hole size can lead to stripped threads or weakened components. The process can also weaken the workpiece material around the hole, especially in softer materials. Careful selection of tap material and cutting parameters is necessary to minimize this effect.
Threading
As opposed to tapping, threading carves external screw threads onto the outer diameter of a rotating workpiece. A dedicated threading tool with a specific profile (matching the desired thread type) progressively cuts the thread pattern onto the workpiece as it spins. These threads form uniform helical grooves that have specified lengths and pitches. The toolpath ensures precise control over the thread’s depth, pitch, and flank angle.
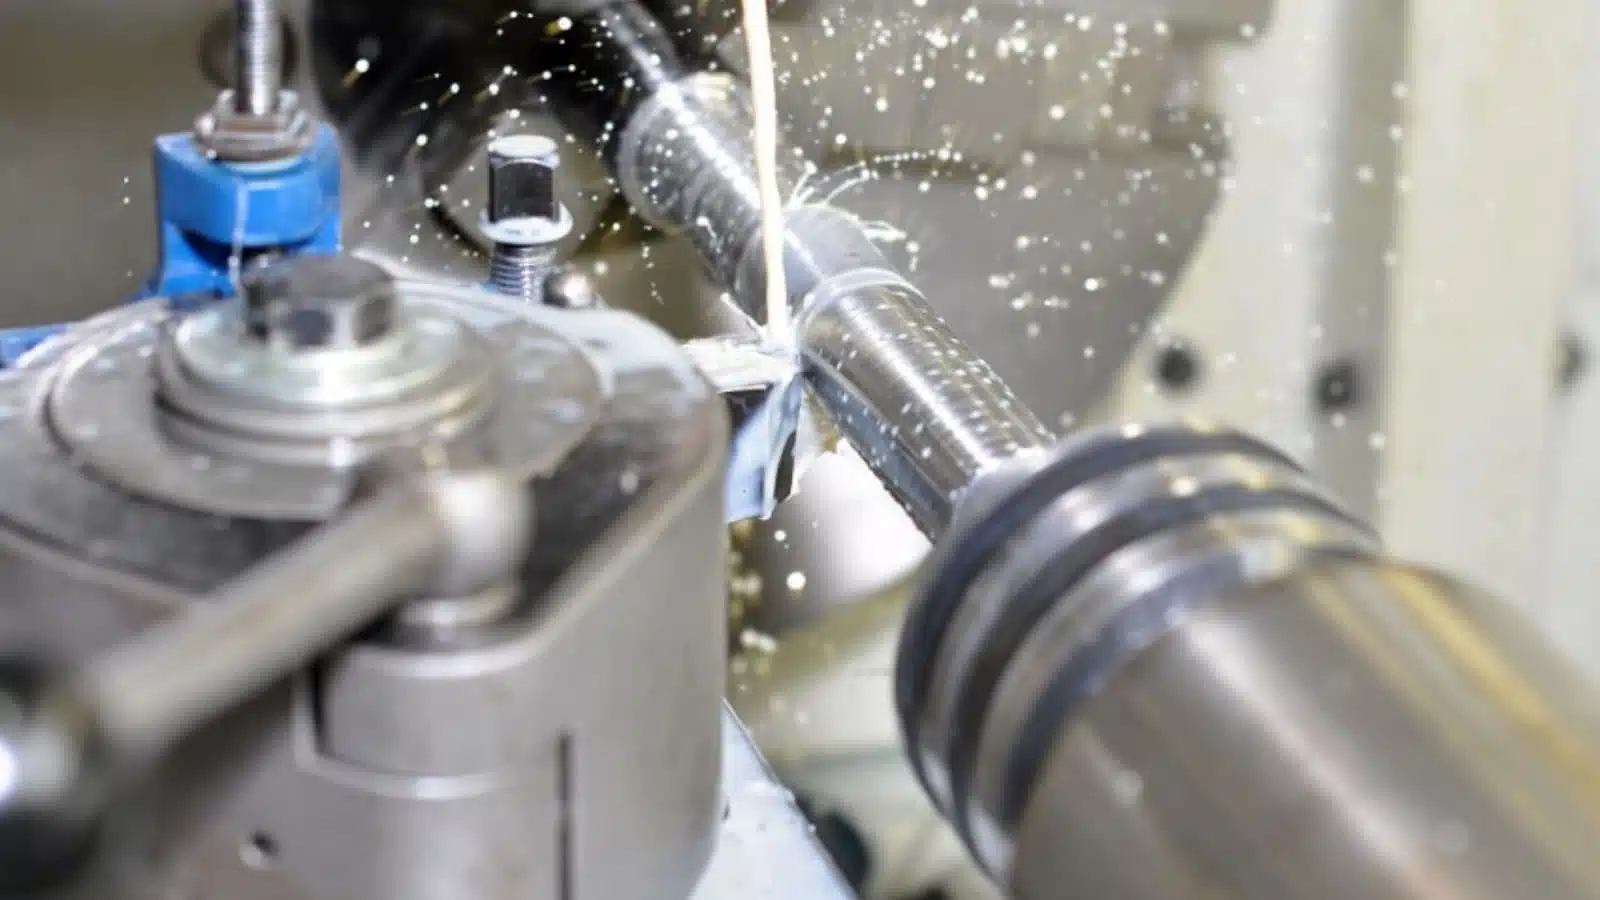
To create deeper threads, the tool may need to make multiple passes. Proper machine setup is essential for achieving accurate threading. If multiple passes are required for deeper threads, the lathe machine must be set to ensure the helix starts from the same position each time.
Threading is vital for manufacturing threaded rods, bolts, fasteners, and other components designed to screw into tapped holes. This operation is important in various industries, including the automotive and machinery sectors, where threaded connections are vital in assembling and securing components. However, compared to simpler turning operations, threading can be time-consuming, especially for complex thread profiles or large-diameter workpieces. Achieving a smooth, high-quality surface finish on the threads may require additional machining passes or specialized tooling.
Boring
Boring refines and enlarges an existing hole in a workpiece using a single-point cutting tool similar to turning. The boring tool, typically a slender bar with a sharp cutting edge, removes material from the inner diameter of the hole. This improves its accuracy and achieves a smoother cylindrical surface. Boring can be performed along the centerline of the workpiece (axial boring) or radially to create holes that intersect at specific angles.
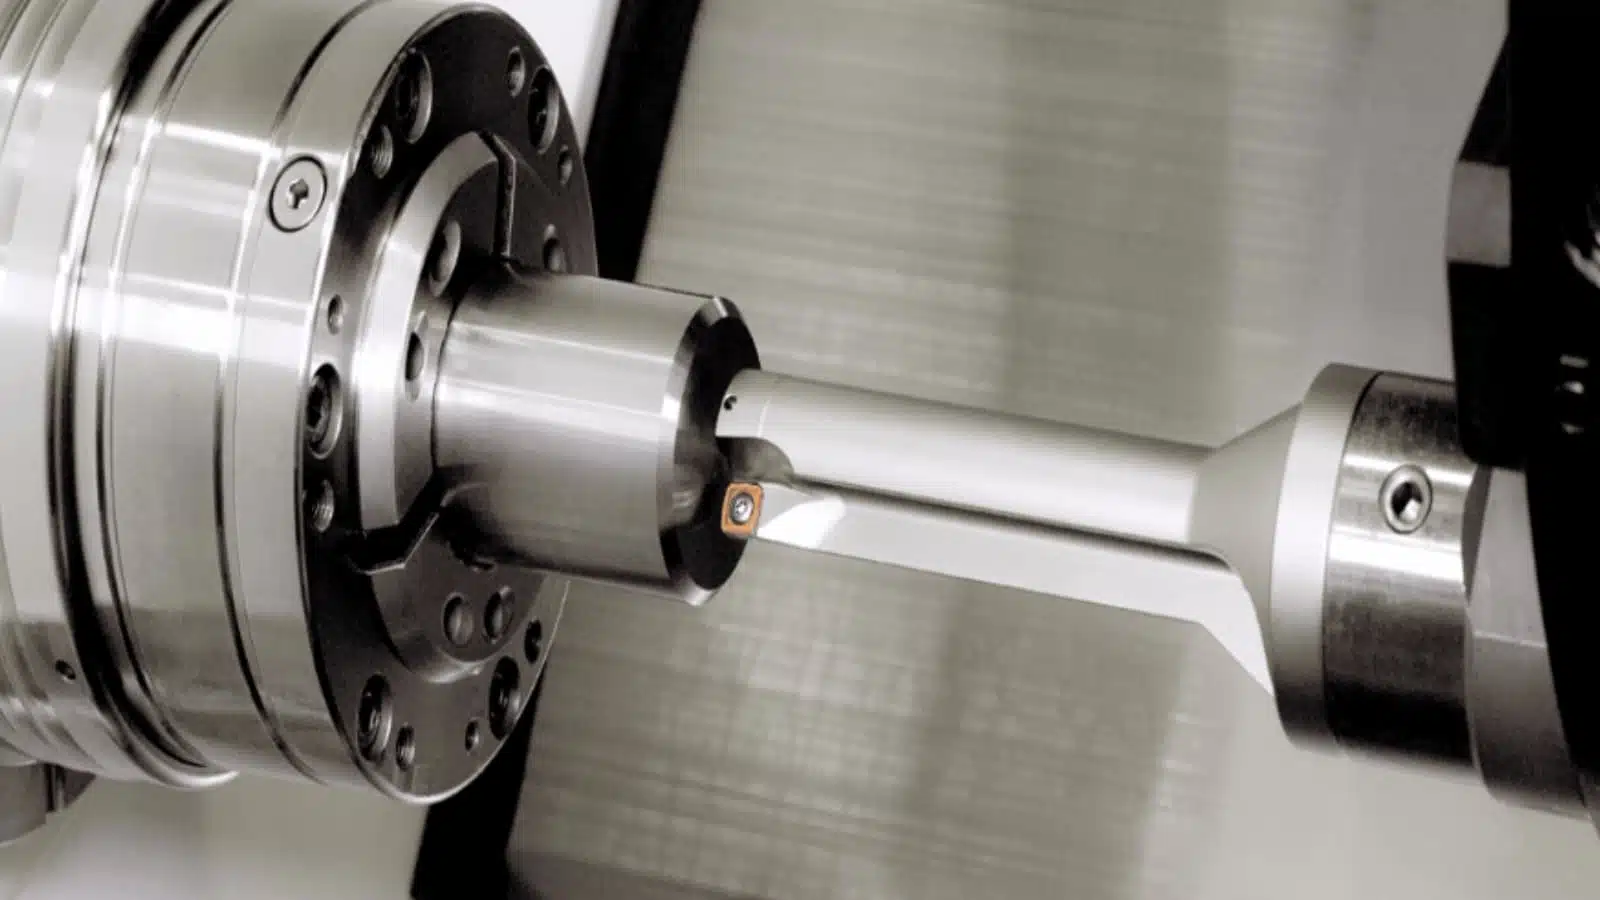
This technology is essential for enlarging pre-drilled holes to accommodate bearings, shafts, or other components requiring a precise fit. It’s extensively used in engine blocks, gear housings, and other machine components where accurate and high-quality internal features are critical. Additionally, it can correct holes that are not perfectly round.
Note that boring cannot create a hole; it only works with pre-drilled holes. The accuracy and size of this hole can influence the outcome of the operation. This process is typically slow and suitable for small-sized workpieces.
Knurling
This operation creates serrated patterns on a part’s surface, enhancing gripping friction and visual appearance. This process employs a specialized tool with cylindrical wheels (knurls) containing teeth that roll against the workpiece surface to form patterns. The most common pattern is diamond-shaped. This creates raised areas on the surface that improve grip and prevent slipping during handling.
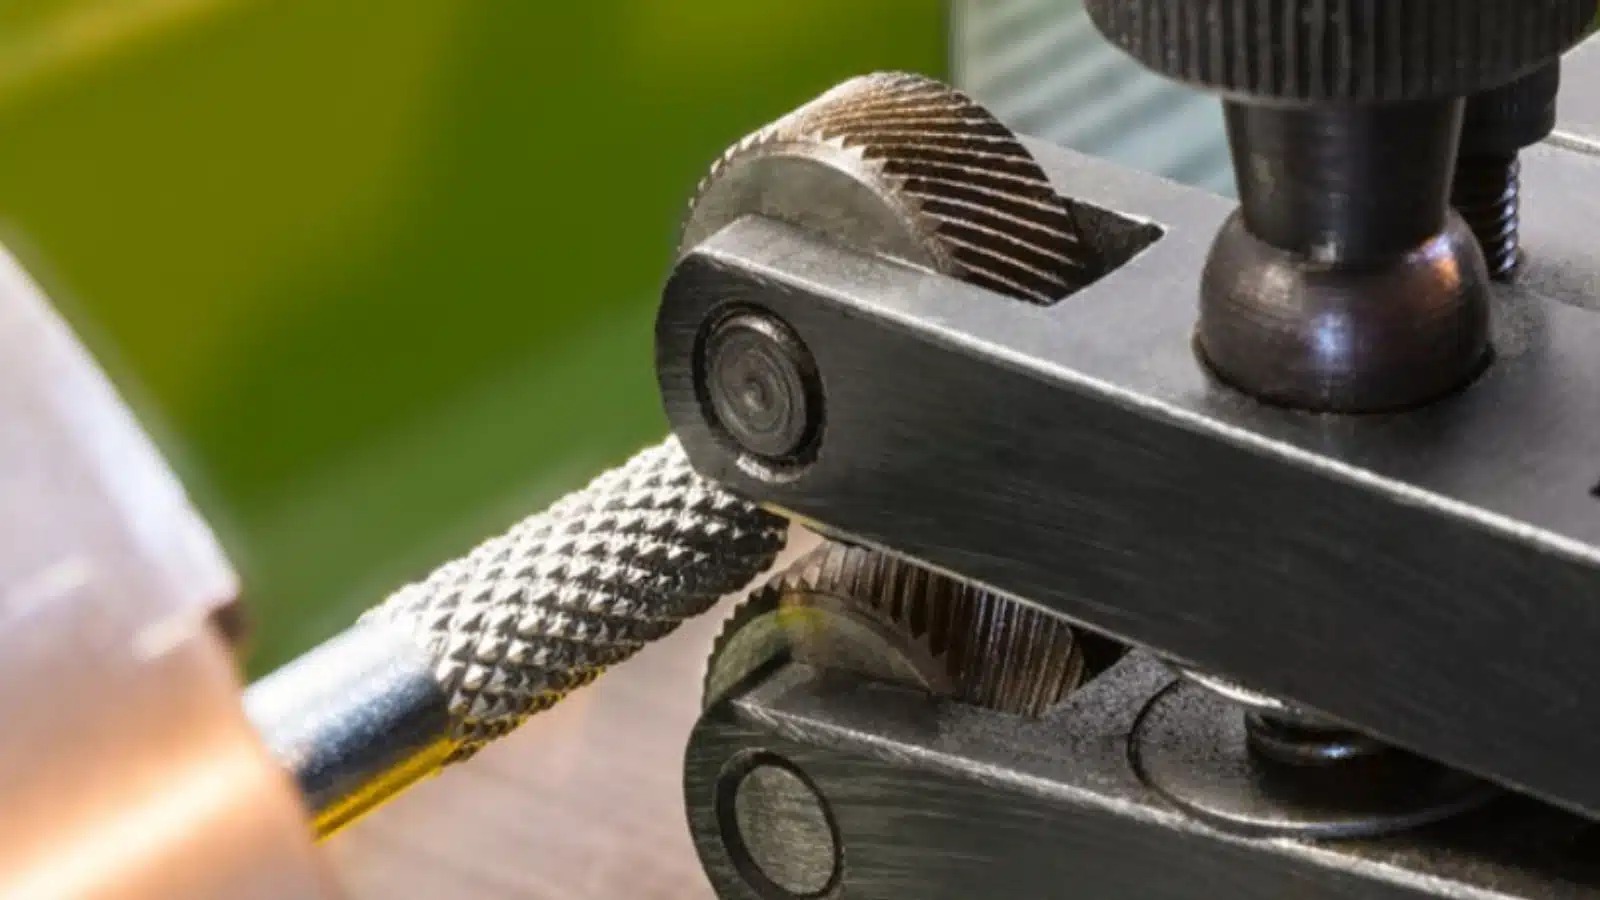
Knurling is frequently used on handles, knobs, and other components requiring a secure grip for user safety and functionality. It is common in tools, machine parts, and everyday objects where a non-slip surface is essential. Additionally, it can be used for decorative purposes to create straight-line pealing component patterns.
However, the knurling process slightly weakens the surface layer of the material due to the pressing action of the tool. Also, it might not be suitable for all materials or applications.
Reaming
Reaming follows drilling or boring operations to refine the accuracy and surface finish of an existing hole. It enlarges a hole in the workpiece by entering axially through the end and matching the diameter of the tool. A fluted reamer, with a slightly larger diameter than the hole, progressively removes minimal amounts of material. This provides a more accurate diameter and smoother internal surface finish.
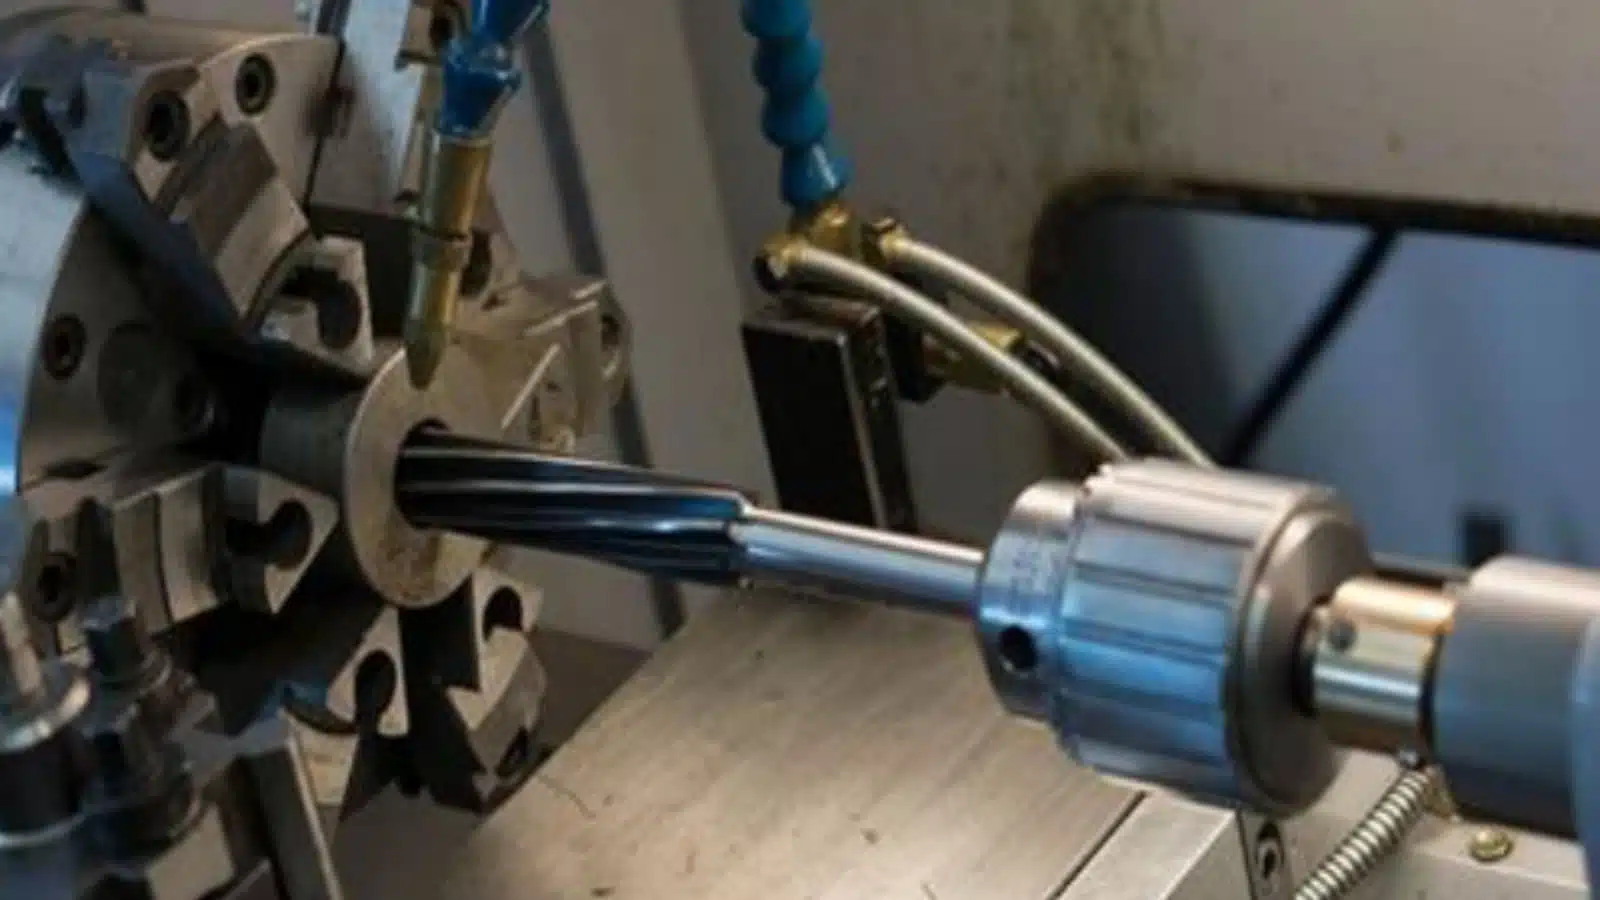
This turning operation is crucial in applications requiring precise fits between components, such as bearing housings or valve bodies. It’s used extensively in various industries where tight tolerances and smooth surface finishes are critical for functionality and performance.
Like boring, reaming requires a pre-drilled or bored hole with a specific diameter to accommodate the reamer. It’s best suited for refining existing holes rather than creating entirely new ones. Additionally, it removes minimal material and may not be suitable for significantly enlarging a hole.
Drilling
The drilling operation removes material from the inside of a workpiece to create a hole. This hole has a diameter matching the drill bit’s size. Proper positioning of the bit is essential for optimal performance. Therefore, machinists position the drill bits on a tailstock drill holder or a lathe tool holder while the material rotates in a chuck or faceplate. The feed rate and drill bit size determine the depth and accuracy of the hole.
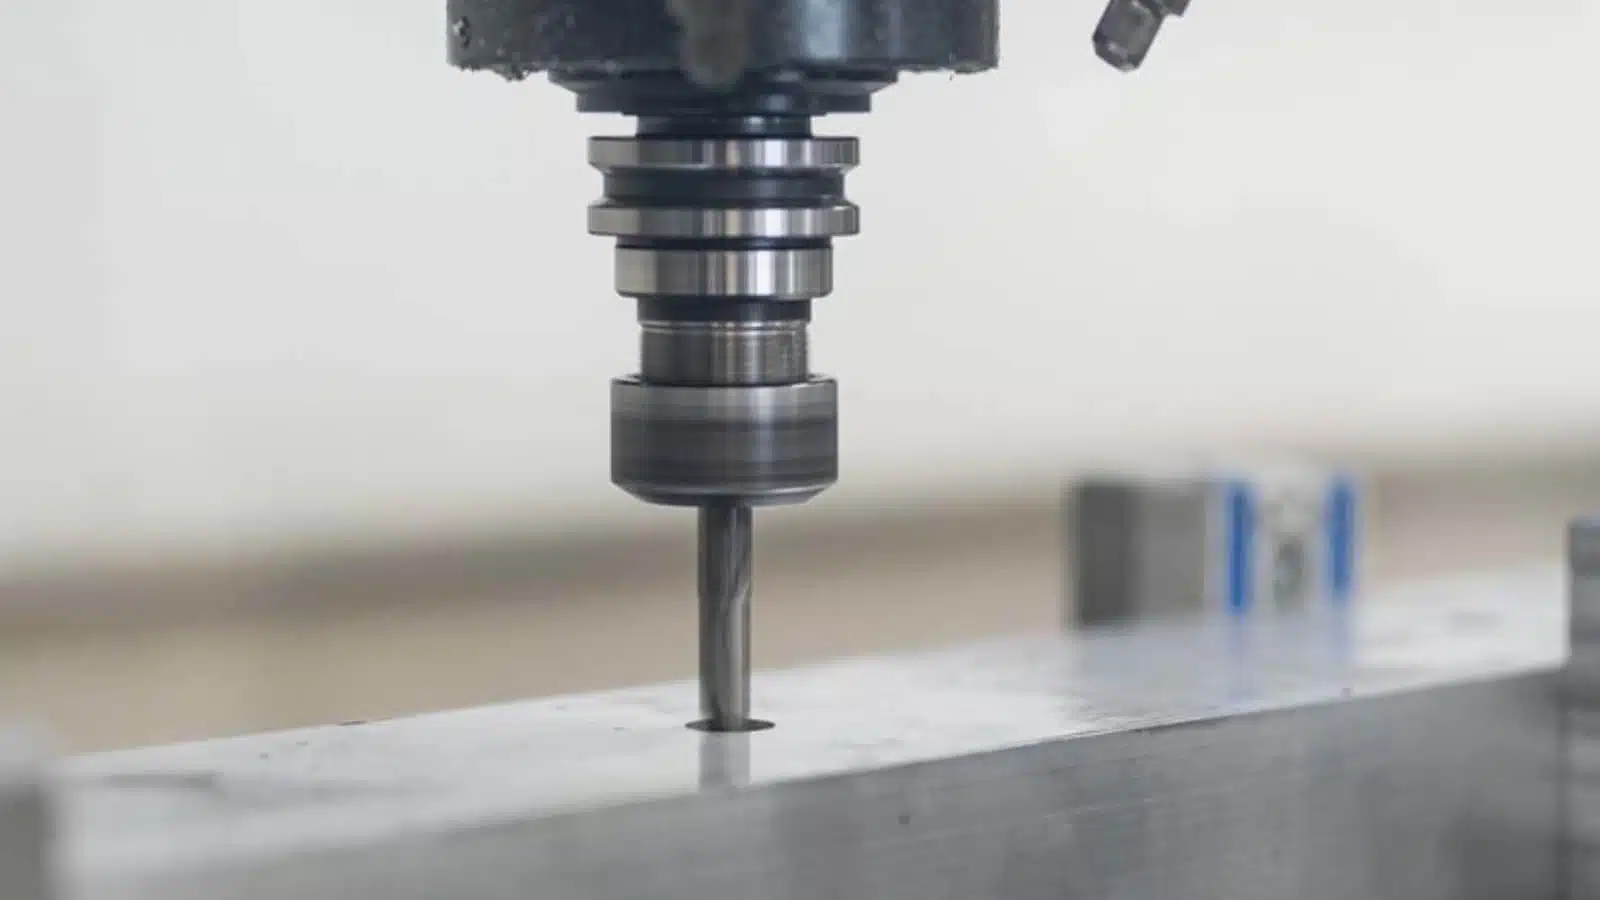
Drilling is It’s used extensively for creating holes for fasteners, pins, and dowels, or for further machining processes like tapping or boring. It is crucial for component assembly, part creation, and various other applications in almost every industry.
However, hole accuracy and quality can be affected by factors like drill bit size, feed rate, and material properties. Improper parameters can lead to inaccurate hole placement, size deviations, or burrs around the hole. Furthermore, creating complex hole geometries may require additional machining processes.
Facing
In machining, workpieces are often longer than the final part. Facing addresses this by machining the end of a workpiece parallel to the axis of rotation. The tool moves along the workpiece radius, removing a thin layer of material to achieve the desired part length and smooth face surface.
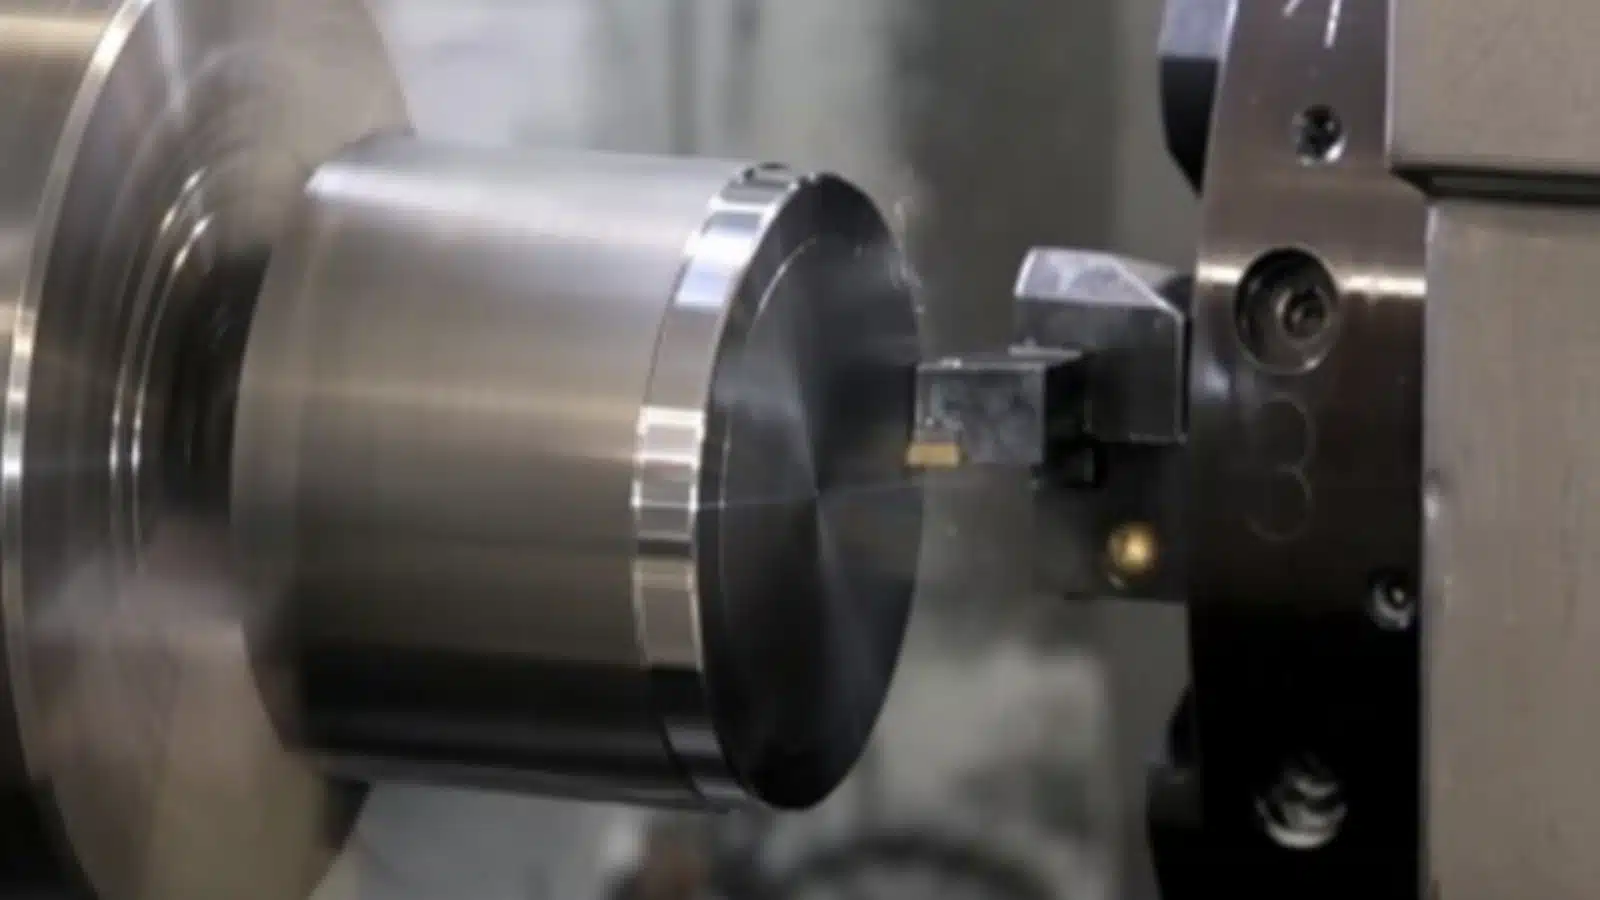
This operation is essential for creating a flat and square surface for perpendicular mating surfaces, bearings, or for further machining processes. It’s a fundamental operation for many components requiring precise positioning and assembly. For example, it ensures a bearing sits well against a machined surface.
However, facing cannot create angled or curved surfaces on complex geometries. Depending on the initial condition of the workpiece end, it might remove a significant amount of material.
Grooving
Also known as necking, grooving creates a narrow cut in the base material. The size of the cut depends on the cutting tool’s width. Wider grooves require the tool to make multiple passes along a single path. There are two types of grooving – face and external. In face grooving, the cutting tool makes a narrow groove on the workpiece’s face, while external grooving removes material through a radial movement into the side of the workpiece.
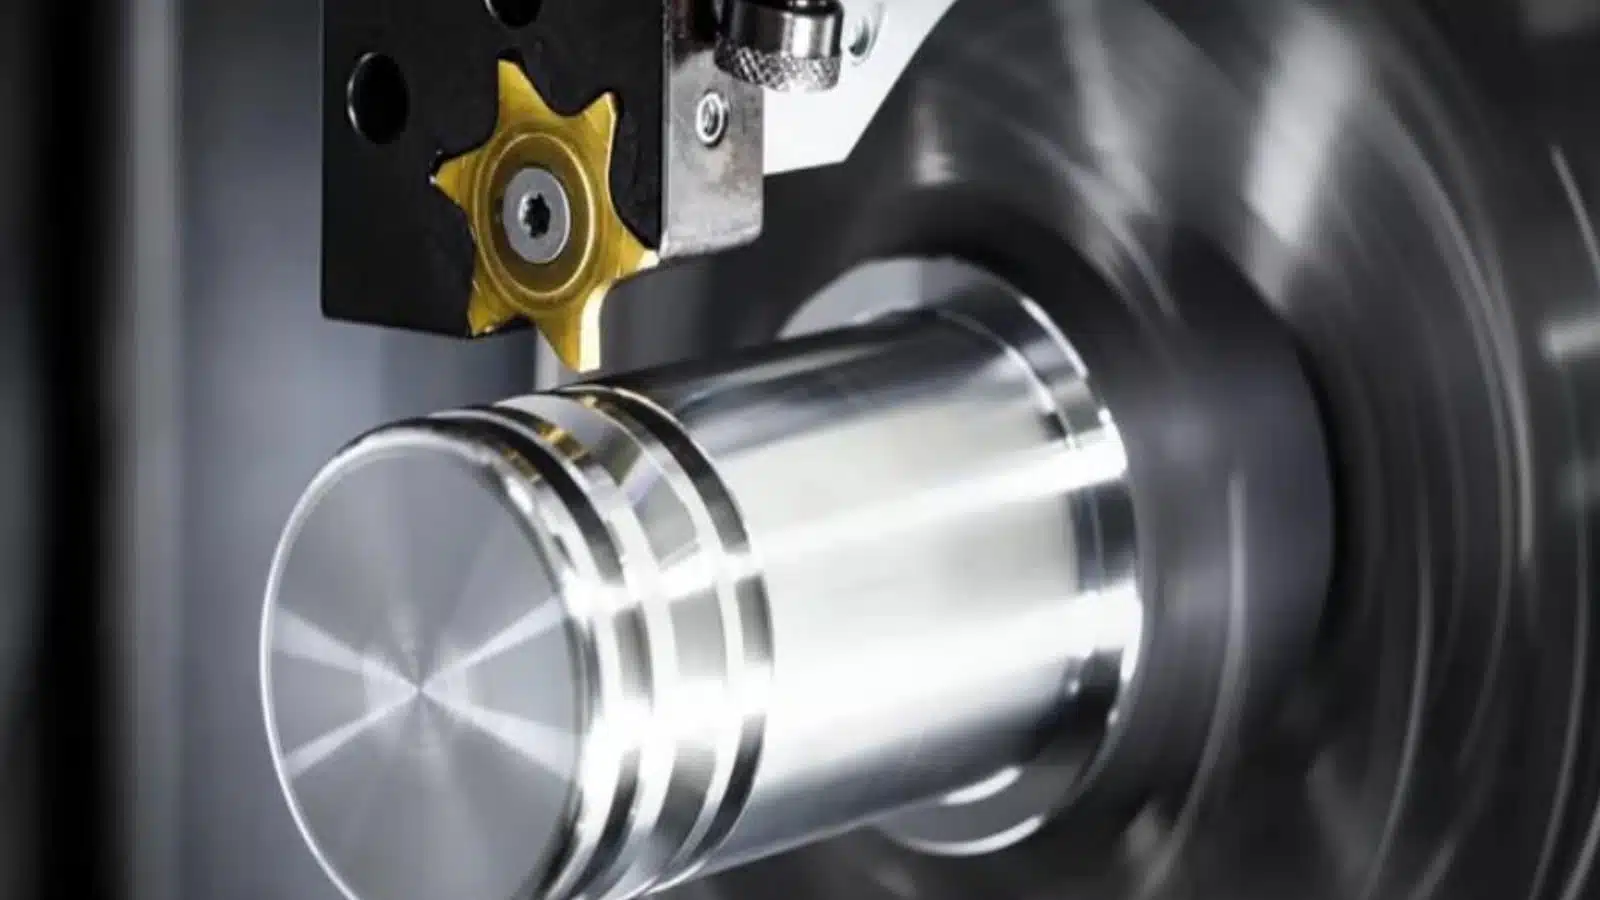
Grooving serves various functional and aesthetic purposes. It can create channels for O-rings or snap rings, which are essential for sealing or retaining components. Grooves can also be used to part off individual components from a longer bar stock or to create channels for lubrication or fluid flow.
However, grooves weaken the overall cross-section of the workpiece, especially for deep grooves. This must be considered during the design phase to ensure the remaining material can withstand operational stresses. Selecting the appropriate cutting tool geometry is crucial for achieving the desired groove profile and minimizing tool wear.
Parting
Parting is the final operation to separate a completed component from the raw bar stock. Here, a specific-shaped tool progressively cuts through the workpiece as it rotates, eventually reaching the center where the part detaches and falls off. A part catcher is often employed to catch the separated part. This operation occurs after the workpiece has been machined to the required size and shape.
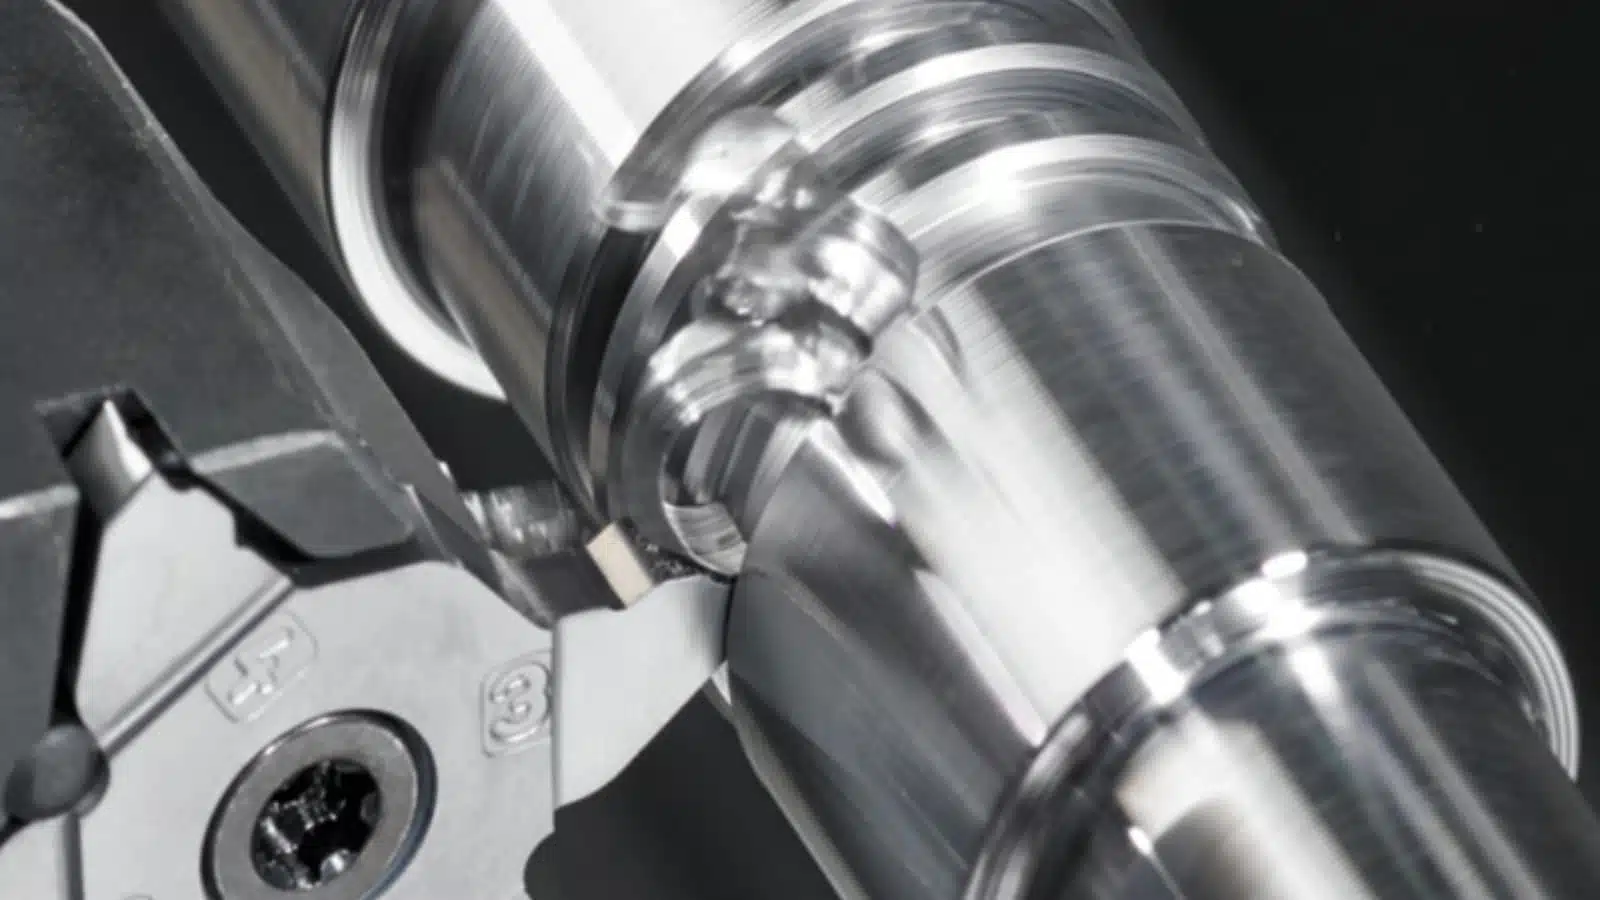
This process is essential for high-volume production runs where multiple identical parts are created from a single material bar. It streamlines the production process by completing the part creation within a single CNC turning setup. However, it is important to note that improper programming can lead to uneven parting surfaces or excessive scrap generation.
How to Choose the Right Turning Operations
While CNC turning opens up the possibilities of achieving an extensive range of products, choosing the right operation is key to the success of your project. Let’s examine the various considerations to put you on the right track.
Material Type
Different materials have varying machinability. Certain turning operations might weaken a workpiece depending on the material. For instance, deep grooves machined in a soft aluminum part can significantly reduce its overall strength. Conversely, harder materials like steel can withstand deeper cuts without compromising their structural integrity.
Ductile materials like aluminum or brass can deform slightly under the cutting pressure during turning. This ductility can be beneficial for achieving smooth finishes. On the other hand, brittle materials like cast iron can crack or chip if subjected to excessive force during operations like drilling or knurling. Selecting operations that minimize stress on brittle materials helps prevent these issues.
Dimensional Accuracy
Each CNC turning operation offers a different level of accuracy. Operations like turning and facing excel at creating highly precise features like cylindrical shapes and flat surfaces. Conversely, drilling and knurling may have slightly lower inherent accuracy due to factors like drill bit deflection or tool vibration.
Therefore, it’s always best to consider the desired accuracy. Similarly, sharper, more rigid lathe tools create cleaner cuts and tighter tolerances compared to dull tools. A dull tool can cause the part to be slightly larger or smaller than intended. Thus, you need to carefully consider the inherent accuracy of each operation and the desired tolerance level to select the right operation.
Surface Finish
Different types of turning operations in lathes have inherent capabilities when it comes to surface finish. Turning and facing typically create smoother finishes compared to drilling or knurling. Additionally, operations like reaming and polishing are specifically used to improve surface finish after an initial machining process. Understanding the impact of the desired surface finish on your part’s functionality and aesthetics will help you select the most suitable CNC turning operation.
Shape and Features
Different turning operations create diverse forms and features. Turning creates cylindrical shapes while facing flattened ends. Threading carves external threads, and tapping creates internal threads for screws. Choosing the wrong operation will simply not achieve the desired outcome.
However, CNC turning’s strength lies in its ability to combine multiple operations on a single workpiece. A complex part might require turning for the cylindrical shape, then drilling for holes, and then tapping those holes to create threaded inserts. The ability to combine operations efficiently on CNC lathes creates intricate parts in a single setup. Knowing the capabilities of each operation and how they work together will help you choose a successful operation.
Conclusion
Turning plays a crucial role in CNC machining, allowing for precise cuts to create intricate components. Its versatility extends to working with various materials and producing diverse shapes. The various types of turning operations available make it even more useful in several situations. However, the extensive list of technologies makes it challenging to select the optimal option for your project.
That’s where RapidDirect comes in. RapidDirect’s CNC turning services encompass all the various turning operations to bring your ideas to fruition. A combination of state-of-the-art technologies and skilled technicians helps us manufacture top-notch custom prototypes and production parts. Our CNC turning expertise ensures precise turned parts, regardless of complexity. Expect durable components, including flats, slots, radial and axial holes, and grooves, at competitive prices. Submit your design file today to kickstart your project!
FAQs
Grooving is the turning operation for creating narrow cuts or grooves on the internal or external surfaces of a workpiece. The shape of the cutting tool will dictate the final shape and depth of the groove.
Reaming is a turning operation used specifically for sizing. A tool known as a reamer helps to enlarge an existing hole in a workpiece. An important point to note is that reaming is only employed on a hole that has already been created.
No, turning does not serve the same purpose as boring. Turning is used to machine a workpiece’s surface to the desired diameter, removing excess material from the external diameter or cylindrical surface. Conversely, boring involves using a cutting tool to shape existing holes to specified dimensions, including enlarging them if necessary. Turning primarily operates externally while boring mainly works internally.
