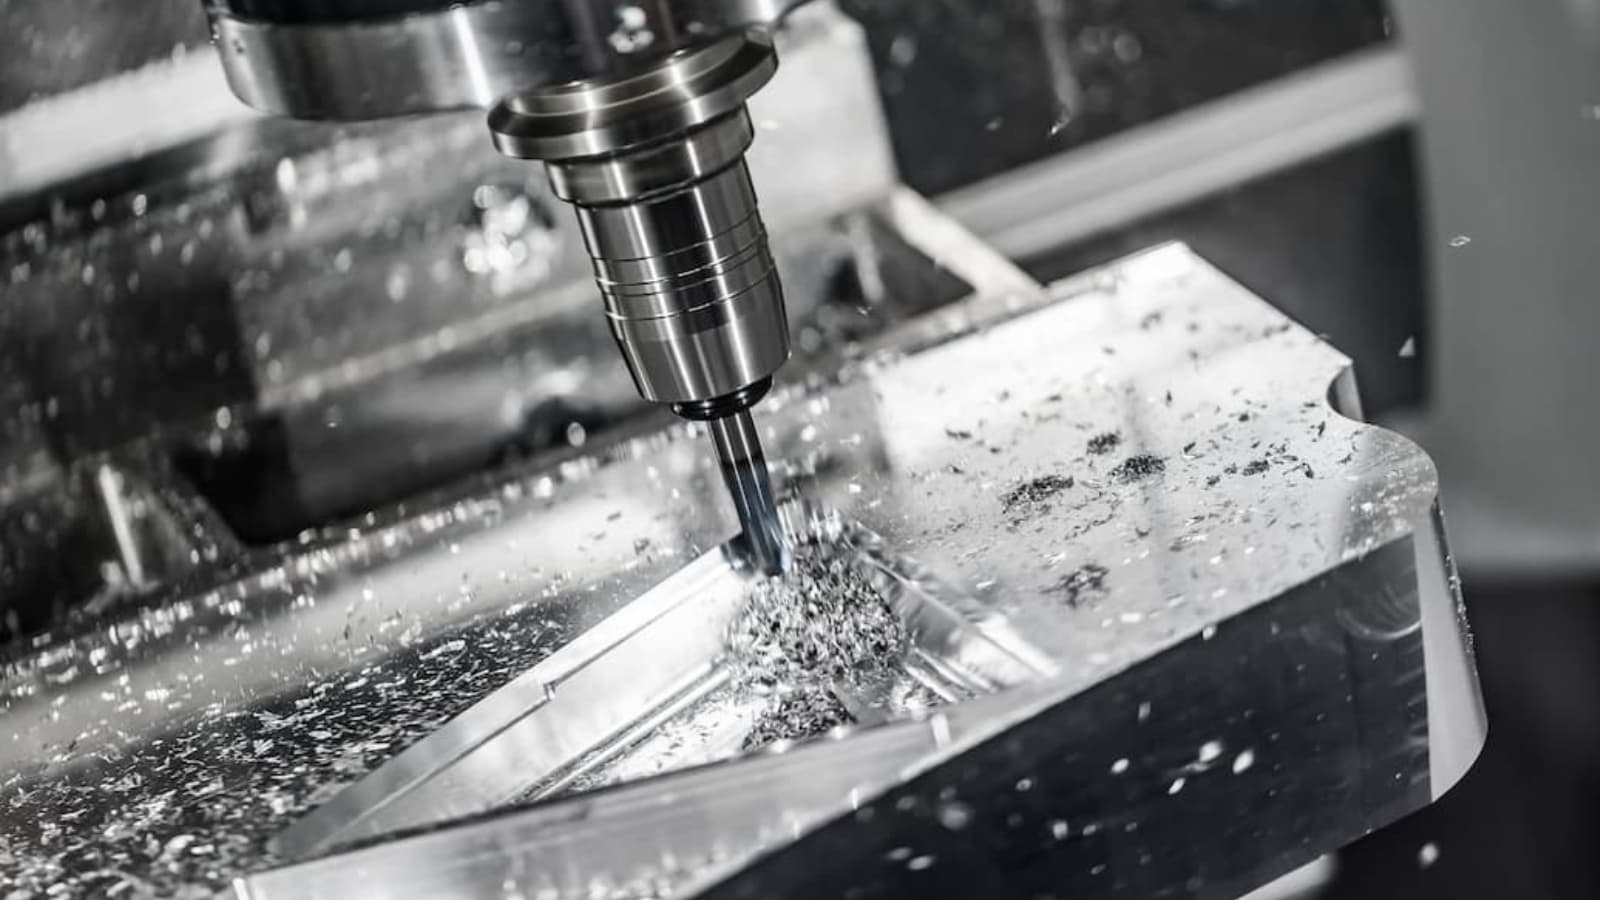
Injection molding is a great manufacturing process for making aesthetical rapid prototyping and plastic production parts. But if no strict control system for the production process, there may be defects in the plastic molded parts, such as sink marks.
So, what is a sink mark in injection molding? Why does this occur and how do you prevent them as a manufacturer? Keep reading as we provide you answers to these questions and important things you need to know about sink marks.
What’s Sink Mark In Injection Molding?
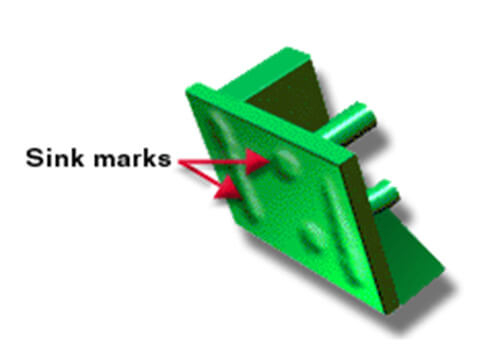
Sink mark is a defect on the surface of injection molded parts with variations in wall thickness. In other words, sink marks injection molding occurs on thicker sections of molded parts and this defect looks more like a dimple or groove on its surface. For a section of a product to be thicker, it means it contains more parts. Furthermore, these thicker regions extend their cooling time. In contrast, the outer portion of the plastic part in contact with the mold steel often cools very fast.
Consequently, this difference in cooling time between the molded part’s outer portion and its interior causes the defect. How? As the molecules in the thicker part of the prototype begin to cool, they contract, resulting in the outer part pulling in, causing a sink mark. However, if the outer part is strong enough, this contraction causes a void instead.
The degree of visibility of a sink is dependent on its depth, the color of the product, and its texture. However, it is important to note that small sink marks are often visible because of their ability to reflect light in different directions.
Causes and Remedies of Sink Marks In Injection Molding
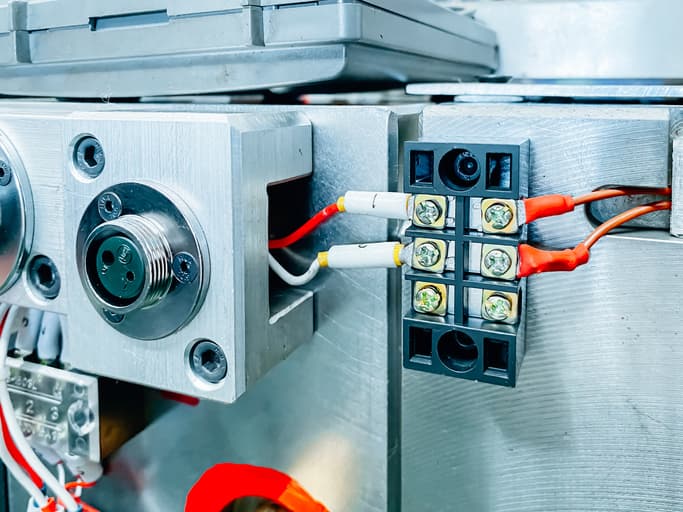
Producing parts through injection molding involves the injection of melted material into a mold. Within the mold, the material solidifies into the desired parts. Subsequently, its ejection occurs.
Injection molding sink marks often occur when the thickness of the part injected into the mold is too large for the resin used. However, there are other causes of sink marks. Now, let’s examine what causes them and how to reduce sink marks in injection molding.
Sink Marks Cause 1: Incorrect Melt Temperature
Using an incorrect temperature when melting a resin could lead to sink mark on the surface of the finished plastic. Often, the sink marks are because of the low temperature of the insert, and if this is the case, increasing the temperature can resolve these issues.
To avoid this, adjust the melting resin within the manufacturer’s recommended temperature range. Before injecting the resin into the mold, verify melt temperature.
Sink Marks Cause 2: Low Pack and Hold time
When pack and hold time is too low, it can also cause sinks on the surfaces of products. Ideally, the pack and hold time should be long. This ensures proper sealing of the part gate, thereby preventing the entry and exit of plastic resin from the mold cavity. If gate sealing does not occur properly, the plastic resin will exit the cavity when laid to rest.
To avoid sink marks, hold it long enough to ensure the gate solidifies after filling the mold. This would help prevent melted material from exiting the mold, preventing sinks. In other words, where a mark or depression occurs near the gate, prolonging the pack and hold time helps eradicate it.
Sink Marks Cause 3: Improper Pack or Hold Pressure
Improper holding pressure distribution is another reason why sinks appear on molded parts. That is to say, applying proper packing pressure to different parts of the product would help keep it in shape.
To prevent sink marks or shrinkage, a typical mold cavity pressure ranges from 8000–15,000 psi. The rule to this is that the pack or hold pressure should be 50-70% of injection pressure.
The best way to apply pressure is by gauging thickness. Consequently, thick mold sections require more plastic and pressure than less thick sections to maintain shape.
Since this defect results from shrinkage when material like the plastic resin in thick areas contracts during drying, getting enough plastic into thick areas with the right pressure could help eradicate it.
Sink Marks Cause 4: High Mold Temperature
Not using the recommended mold temperatures, (which are between 80-120o Celsius) could result in this depression. Setting the temperature too high could deter the gate from sealing properly and on time. To fix this, use the correct mold temperature range while ensuring correct plumbing.
Below is the recommended injection molding temperature for common plastic:
| Plastic material | Injection Molding Temperature (C°) | Mold Temperature(C°) |
| LDPE | 160-260 | 50-70 |
| POM | 200-210 | >90 |
| ABS | 210-275 | 50-90 |
| PP | 250-270 | 50-75 |
| PS | 180-280 | 10-40 |
| PVC-rigid | 180-210 | 30-50 |
| PVC-soft | 170-200 | 15-50 |
| HDPE | 260-300 | 30-70 |
| PC | 280-320 | 80-100 |
| TPR | 120-250 | 50-70 |
| PA66 | 260-290 | 70-120 |
| PMMA | 210-240 | 50-70 |
| PA6 | 240-260 | 70-120 |
Sink Marks Cause 5: Improper Part Geometry
Improper part geometries and mold design could also cause these depressions to form. It is important to note that the ribs and bosses are the most common areas where sink marks occur. Below are a few ways to remedy injection molding defects caused by geometry.
Balance Rib And Wall Thickness
Creating a balance between rib and wall thickness would help reduce the tendency of these marks to form. Avoid increasing the height of the rib to the thickness of the wall. Because doing so might lead to an increment in the number of distortions or defects in the plastic.
Also, note that molten plastic, like other liquids, flows along the path with little or no resistance. Therefore less thick areas would fill up first during the plastic injection. After this section is full will the molten plastic start filling the rib section.
Use a Gradual 7-degree Slope at the Base of the Rib
To minimize distortion and blemishes, incorporating a gradual 7-degree slope at the base of the rib is necessary. Using this slope method only works when the gate is near the area. This slope helps ensure a gradual rise in the molten material injected into the mold, preventing blemishes and distortions on its surface.
Boss Design
When designing a boss where the hoop would go through minimal stress, the outside diameter should be double the inside diameter. This type of boss design would help reduce sink marks. On the other hand, if the boss hoop would go through a lot of stress if there is an application of heavier loads, the outside diameter should be two and a half times the inner diameter.
The Thinner Base Area Around The Boss
It is best to avoid thinning the base area around the boss. This practice, which is common these days, makes the construction weak. As a result, the boss would require strong ribs for support which consequently interrupts the flow of material during injection, resulting in sink marks in the plastic.
Small Nozzle Hole
If the nozzle gets blocked or the nozzle hole of the molding machine is small, lack of pressure could cause a sink mark on the plastic. Hence, the best way to prevent this type of defect on plastic is by cleaning or replacing the injection machine nozzle to get the ideal injection speed.
DFM Helps Prevent Sink Marks In Plastic Injection Molding
Design for manufacturing or manufacturability involves designing a component or part, so it is easier to produce more of that part. This process includes a set of design guidelines the industry recommends for better manufacturing and part design.
Applying design for manufacturability in the design phase helps prevent molded parts sink marks. This manufacturing phase is also the ideal time to address these defects as it does so with minimal cost. Also, this process involves the use of specialized mold flow simulation programs. The aim of using this program is to simulate the process of injection molding. This simulation done in 3D shows flow, warpage, heat flux, and details of the complete mold.
During the simulation, the engineers overseeing the project check for problems with the design, including sink marks, using a checklist. If there are problems, they make the necessary changes to the design, including the material and mold used. They repeat this process until the checklist is completed and problems are eliminated.
The general aim of DFM is to manufacture products with minimal errors and boost product quality for optimal consumer satisfaction. Besides, not following this injection molding design guide during the production of plastic parts often results in incurring avoidable expenses due to mold modification and redesign.
RapidDirect – Your Best Injection Molding Partner
Are you looking for the best place to get your injection molding services with no sink marks? Think RapidDirect! We offer the best quality during both prototyping and full-scale production.
What’s more, we offer DFM analysis to our clients at no cost to ensure defects like a sink mark do not mar your product’s appearance.
We are big fans of perfection, which is why we follow all the DFM standard guidelines in ensuring your product parts are beyond perfect. So, what are you waiting for? Visit RapidDirect today to kickstart your project.
FAQs
Void occurs when there is a difference in the cooling rate between the outer and inner parts, especially when the product’s outer layer cools before the inner layer. This difference causes the inner layer to shrink, detaching from the other layer, thereby forming a void.
The major ways you can prevent sinks and voids in a design include:
a. Ensure melt temperature is optimal.
b. Making sure pack and hold pressure is ideal.
c. Avoid excess mold temperature.
d. Ensure the use of the right material and mold design.
Below are ways through which you can remove and prevent flow lines;
a. Increase the injection speed, pressure, or temperature of the material.
b. Where wall thickness increases, round the corners of the mold in those regions.
c. Give a good distance between mold gates and mold coolant.
d. Increase flow speed by increasing nozzle diameter.
Conclusion
Knowing what causes sink marks is the first step in preventing and fixing them. There are many reasons why sink marks occur, from holding time, and pressure to mold temperature and melt temperature. However, one way to prevent this depression from deforming your molded parts is by employing DFM in manufacturing.
Also, if you are looking for an ideal company for your injection molding needs at an affordable rate, think RapidDirect.