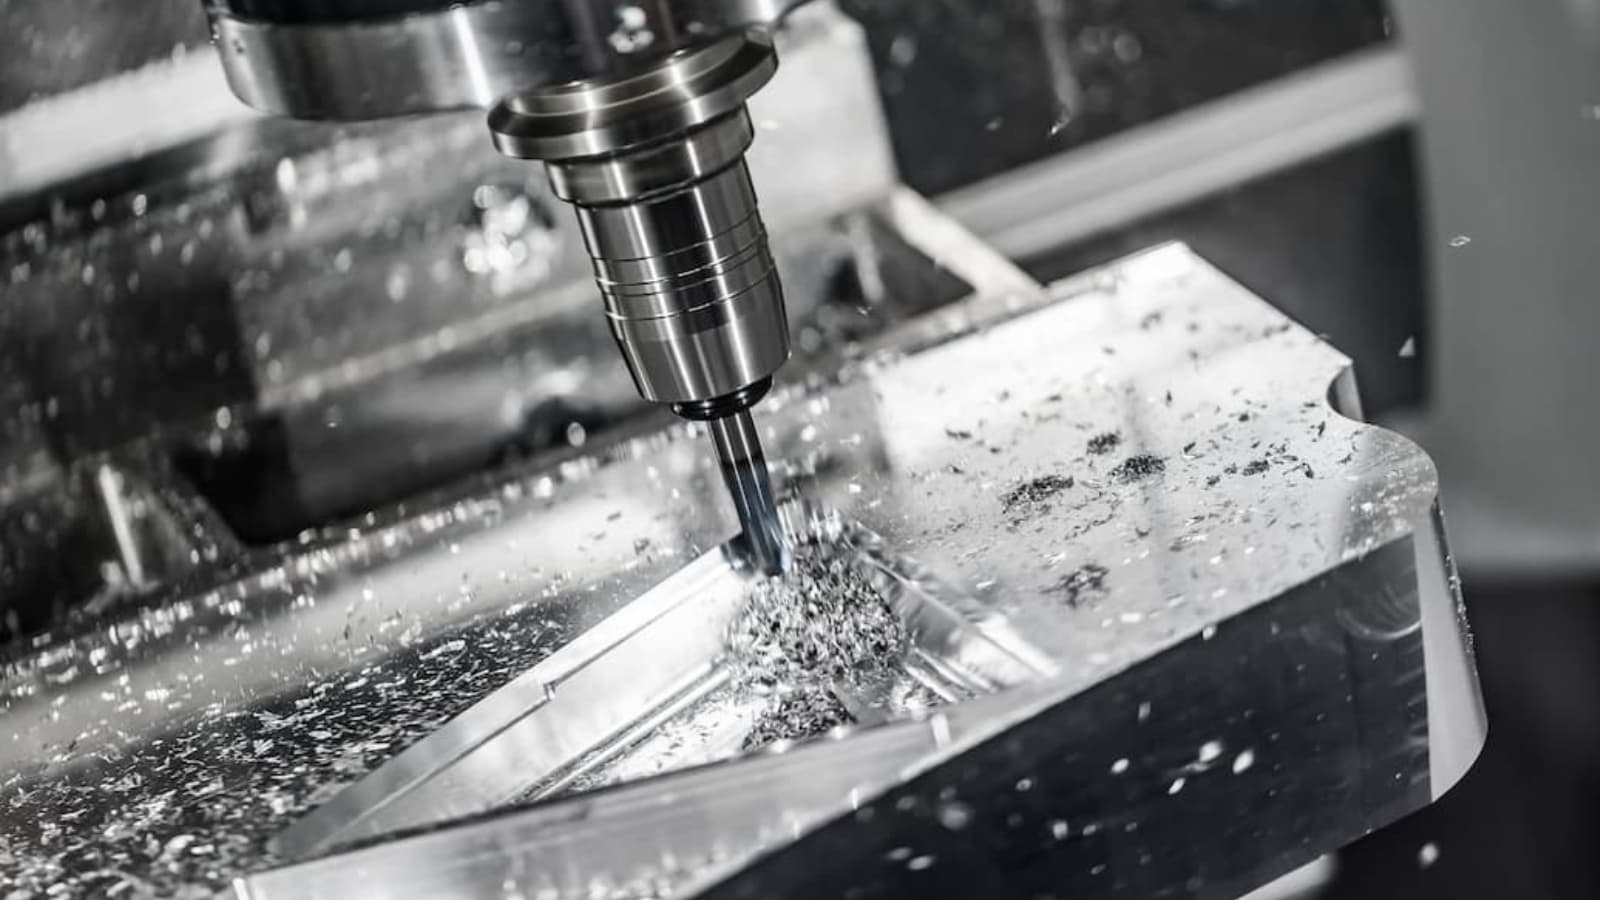
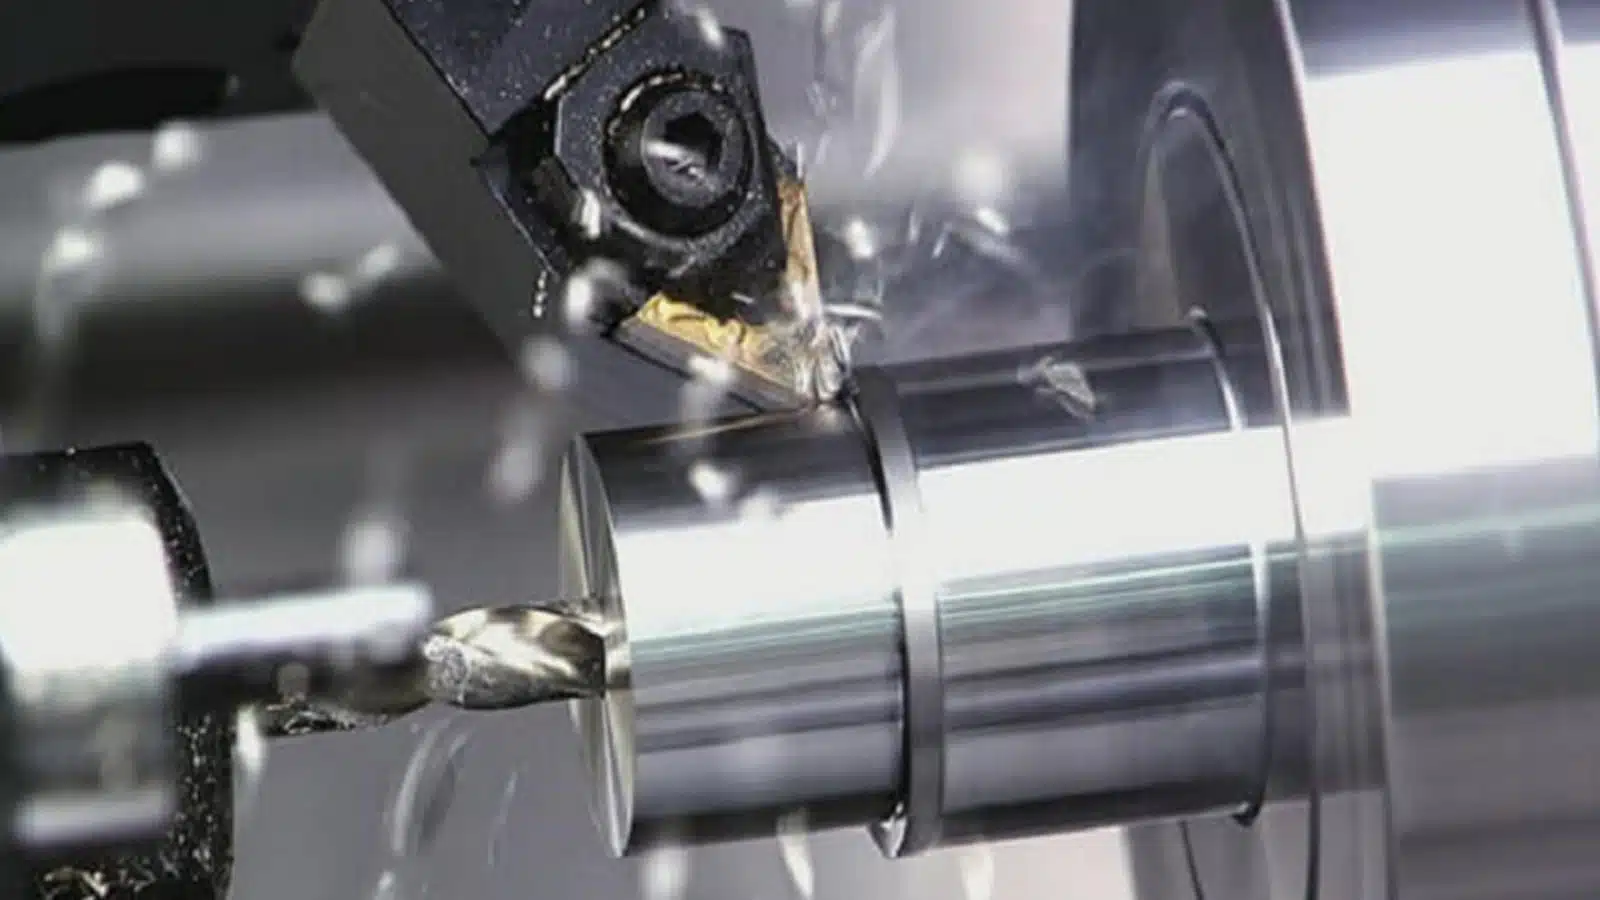
Our comprehensive quality assurance offering ensures that we can deliver high-quality parts that meet our customer requirements.
As a rapid prototyping and manufacturing company, integrating quality assurance processes is critical to our work, allowing us to ensure that we deliver high-quality parts to our customers. Indeed, our top priority is to deliver parts that meet all of our customers’ specific requirements.
At RapidDirect, our quality assurance offering is about more than just inspecting final parts: we have sophisticated tools and systems in place that ensure quality across the entire manufacturing chain, from placing an online order to final delivery. Our quality assurance protocol includes part design evaluation using our DfM tool, advanced inspection instruments, material certifications and quality reports. Keep reading for a full walk-through of RapidDirect’s professional quality assurance offering.
High manufacturing standards
One of the factors that helps us to maintain high quality manufacturing across the board at RapidDirect are our high manufacturing standards. These standards, seen in the box below, allow our customers to understand from the get-go what our capabilities are and ensure that we can meet stringent tolerances and part requirements.
In combination with our extensive manufacturing arsenal—made up of hundreds of cutting edge CNC Machining, Injection Molding, Sheet Metal Fabrication and 3D Printing systems—our standards enable us to produce prototypes and end-use products for clients in many different industries.
Our manufacturing systems and materials are also certified under ISO9001, SGS and RoHS.
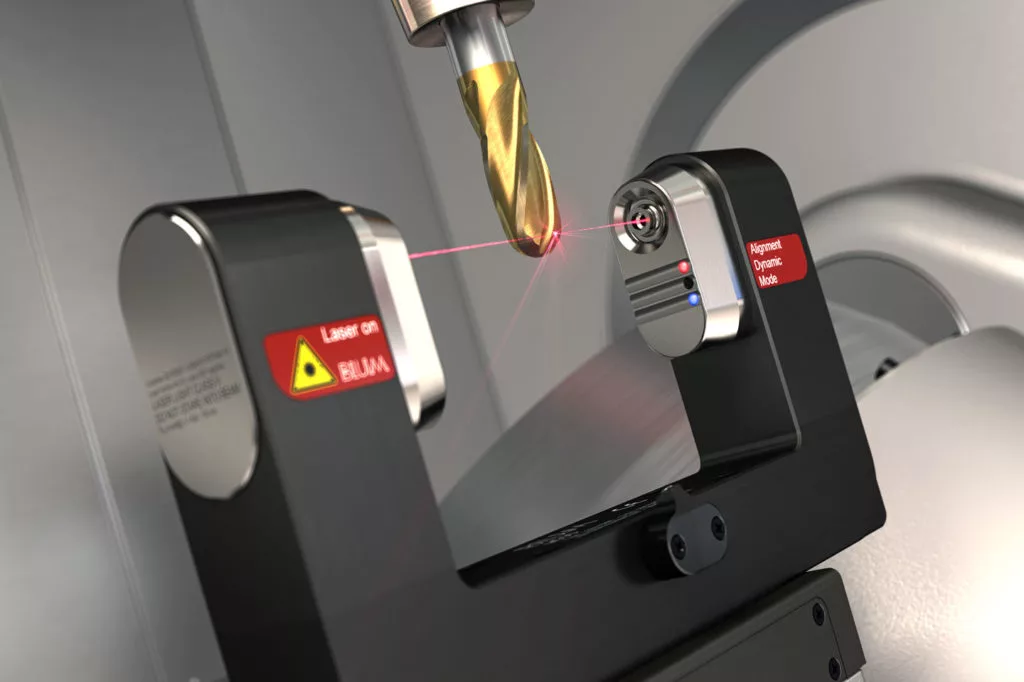
2. Advanced Inspection Instruments
Pre-production
From the moment a customer uploads a CAD file to the RapidDirect online quote engine, our quality assurance tools kick into gear.
DfM Feedback
The first to come into play is our DFM Feedback tool (Design for Manufacturing). Once a customer has uploaded a CAD file, our DfM Feedback tool automatically generates an analysis of the part to determine its manufacturability. The analysis, which compares part features to our extensive database of manufacturable geometries, will either confirm to the customer that their part is ready for production or provide them with design instructions to improve the product’s manufacturability. This first step ensures that the client is ready to move onto the next step of the ordering process. Take a full walkthrough of our online ordering process.
X-Ray Fluorescence
At RapidDirect, we use X-Ray Fluorescence (aka XRF) to analyze the quality of our many manufacturing materials. The technology is a non-destructive testing method that emits short-wave X-rays or gamma radiation to detect the elemental composition of various materials, including metals, plastics, ceramics and more. The sophisticated process can identify elements by using a spectrometer to measure the wavelengths reflected from the X-rays. This method enables us to ensure that our materials are up to standard and will meet the requirements of our customers.
Post-production
After the manufacturing process is complete, RapidDirect puts all of its parts through physical inspections, using a range of sophisticated instruments, including a projector and coordinate measuring machine (CMM). These techniques are both employed once a part has been manufactured to ensure its dimensions are consistent with those of the original CAD model.
Projector
A projector, also known as an optical comparator, is a machine that uses optics to inspect a component. The equipment is commonly used for inspecting CNC machined components and uses a multi-point positioning system to collect highly accurate readings of a part’s geometry. This data is matched to that of the original CAD file, enabling us to confirm that the part matches specifications or identify where any inconsistencies have occurred.
Coordinate Measuring Machine
We also use a second inspection process at our manufacturing facilities called coordinate measuring. This process uses a Coordinate Measuring Machine (CMM) to measure the physical boundaries of manufactured parts using a probe. In short, the probe collects point data from the across part’s outer geometry and generates a precision model which can then be matched to data from the original CAD file. The CMM also detects any inconsistencies which can be remedied before a part is shipped to the customer. Coordinate measuring is especially suitable for inspecting parts with complex geometries.
3. Quality Reports
The final part of RapidDirect’s Quality Assurance offering is quality reports. On customer request, RapidDirect will supply customers with two types of reports: a material certification and a full-dimensional inspection report. These give our customers an in-depth look at how their part or parts have been manufactured and assessed.
Material certification
The materials we use at RapidDirect are all certified and production-grade. If necessary, we can supply a material certification report issued by the raw material manufacturer, which includes the following data:
- Material heat number
- Material grade
- Material dimensions
- Mechanical properties
- Chemical analysis
- Heat treatment
(The content of the report varies depending on the type of material.)
Material certification reports also identify the date the material sample was received, when it was tested, what testing methods were employed and the results of the tests.
Full dimensional inspection report
On customer request, we also offer our customers a full dimensional inspection report for CNC machined components. The report contains dimensional data derived from inspection testing, including precision measuring instruments like gauges or calipers, and Coordinate Measuring Machines. This report also details the manufacturing process closely, indicating if any errors were corrected. This comprehensive report includes the following:
- Quantity of parts
- Critical dimensions
- Threads and tolerances
- Thicknesses and depths
4. Return & Refund Policy
In the event that your order does not meet your specific requirements, we invite our customers to get in touch with our team within five business days, from the date of order receipt. Our team of experts will gladly work with you to resolve any issues as quickly as possible to ensure you are satisfied with our collaboration. At RapidDirect, we value customer feedback and understand the importance of accountability. Hearing from our customers once a part has been delivered, even if it is a success, helps us to continue serving our clients in the best way possible. Our priority is to offer each of our customers a reliable, transparent and effortless manufacturing service that will keep them coming back!
